
After x360Sync server is installed, you will need to enter a license key and configure general system settings in the administrative web portal.
NOTE
Your Private Cloud license key can only be used once during registration. The original license key cannot be detached and re-provisioned. A new key must be requested for each registration.
To configure the x360Sync server:
- Open the administrative web portal. The administrative web portal will display, showing the License tab.
- In the License tab, enter the license key and then click the Next button.
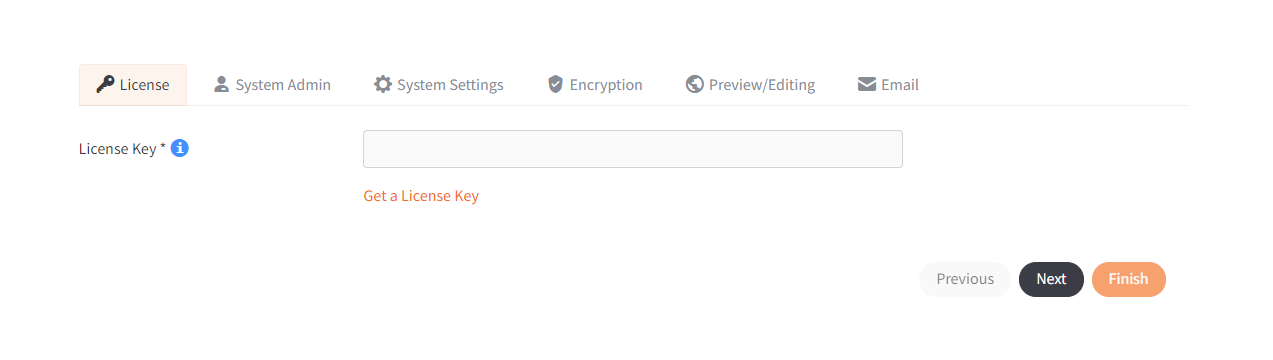
- Alternatively, if you do not have a license key, click the Get a License Key link. Your web browser will redirect you to the Home page in your x360Sync account, prompting you to generate a license key:
- In the Home page of your x360Sync account, click the Licenses navigation item.
- In the Licenses page, record the license number. Please note that your Private Cloud license key can only be used once during registration. The original license key cannot be detached and re-provisioned. A new key must be requested for each registration.
- In the System Admin tab, enter information about the system administrator account.
- In the Email field, enter the email address of the system administrator account.
- In the Password field, enter a password for the system administrator account.
- In the Confirm Password filed, confirm the password for the system administrator account.
- In the First Name field, enter the first name of the system administrator.
- In the Last Name field, enter the last name of the system administrator.
- In the Mobile Phone Number field, enter a phone number, so that the system administrator can optionally receive text message alerts.
- Click the Next button when you are finished.

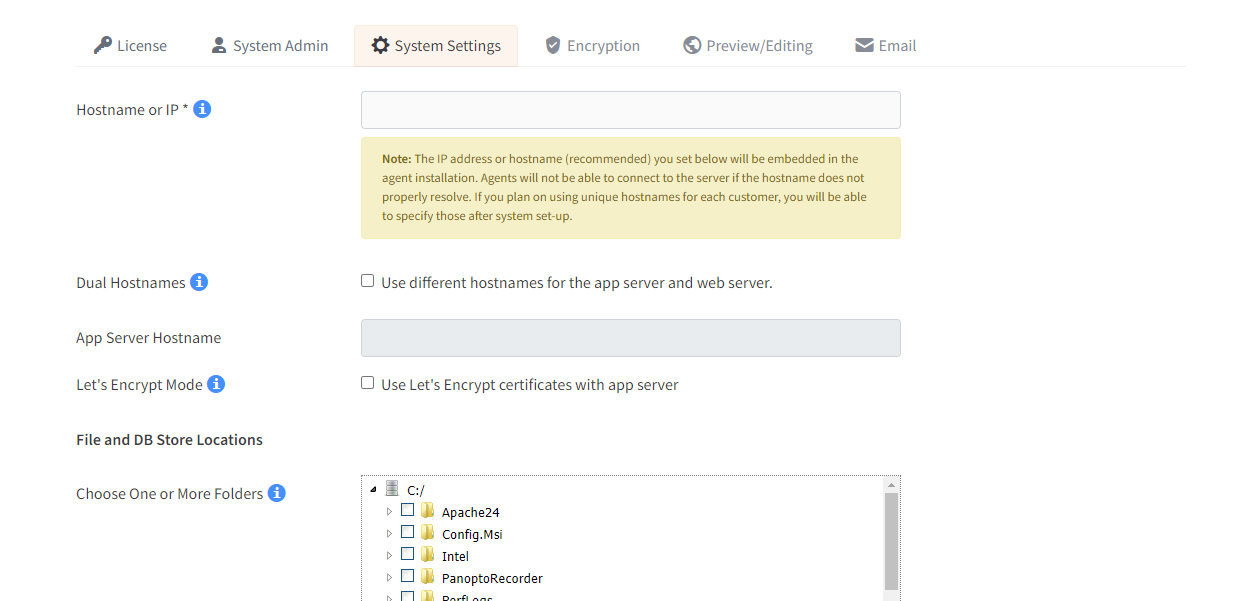
- In the System Settings page, enter server information for x360Sync.
- In the Hostname field, enter the publicly available hostname or IP address that will be used by your desktop clients to connect with the x360Sync server.
- Use the Dual Hostnames checkbox to specify separate hostnames for the application server and the web server. We recommend that you set up dual hostnames after you complete the initial configuration process. You will be required to set some network translation rules on the firewall and server to use dual hostname settings; you will also need two unique public IP addresses. For more information, please contact the x360Sync Support Team.
- In the Choose Folders area, select the folder where the raw binary data will be stored (at least 1TB of direct-attached hard disk space is recommended). Please note that you must use a permanently mounted drive during the initial setup process. After you complete the setup process,
you can migrate the store path to a network drive (for example, SAN or NAS). For more information, please contact the x360Sync Support Team. If you need to add additional disk space in the future, you can configure new store locations in the Stores tab, which is located under the Settings tab in the administrative web portal. - In the File and DB Store Locations area, select the folder where file metadata will be stored. By default, this location is set to the x360Sync directory; optionally, you can also select a separate drive.
- Also in the System Settings page, you can optionally enter information about the master organization; or, you can configure this information later. Click the Next button when you are finished.
- In the Encryption tab, determine how your database encryption key will be stored.
- Click the Persistent radio button to permanently store the encryption key to the database.
- Alternatively, click the Transient radio button to protect the key with a key password, which must be entered each time the service is restarted. You only need to select this option if you do not trust the server on which x360Sync resides. Please note that if you forget this key password, it cannot be reset.
- If you select the Transient radio button, enter a password in the Key Password field. You must also confirm the password in the Conform Password field.
- Click the Next button when you are finished.

- In the Preview/Editing tab, you can optionally configure settings for the Web Preview server and the Web Editor server.
- In the Web Preview Settings section, click the Use eFolder Server radio button, and then use the dropdown menu to select the server most closely matching your environment’s geographic location. The Web Preview Host field and the Web Preview Port field will populate based on your selection.
- In the Web Editor Settings section, click the Use eFolder Server radio button, and then use the dropdown menu to select the server most closely matching your environment’s geographic location. The Web Editor Host field will populate based on your selection.
- Alternatively, you may choose to Use Custom Server and enter your hosts for Web Preview and Web Editor.

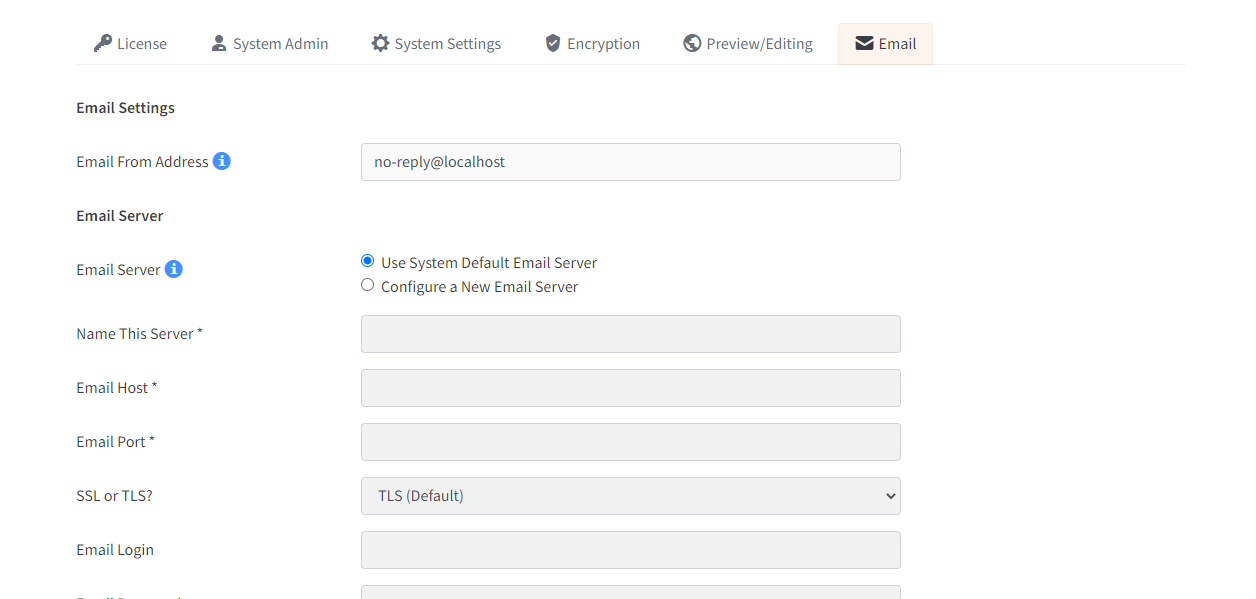
- In the Email Server tab, configure your email server settings; or, you can configure this information later. For information about configuring an email server, please reference the How to Specify an Email Server section of the Guide.
 You are now ready to begin using x360Sync.
SUPPORT | 720-204-4500 | 800-352-0248
- Contact Axcient Support at https://partner.axcient.com/login or call 800-352-0248
- Have you tried our Support chat for quick questions?
- Free certification courses are available in the Axcient x360Portal under Training
- Subscribe to Axcient Status page for updates and scheduled maintenance