
With x360Recover Direct-to-Cloud (D2C) and local cache, you can directly create a virtual machine on Hyper-V for near-instant recovery of your protected systems..
|
STEP 1. Install Recovery Center
Start by installing Recovery Center on a suitable Hyper-V host . (For example, you can choose a physical Windows server at your client site, or even a Windows desktop with sufficient memory and Hyper-V services installed.)
Download Recovery Center from the Axcient downloads page here: https://help.axcient.com/General-Axcient-Information/downloads#RecoveryCenter
STEP 2. Use Recovery Center to export protected system virtual disks
Once Recovery Center is installed, launch the application and login.
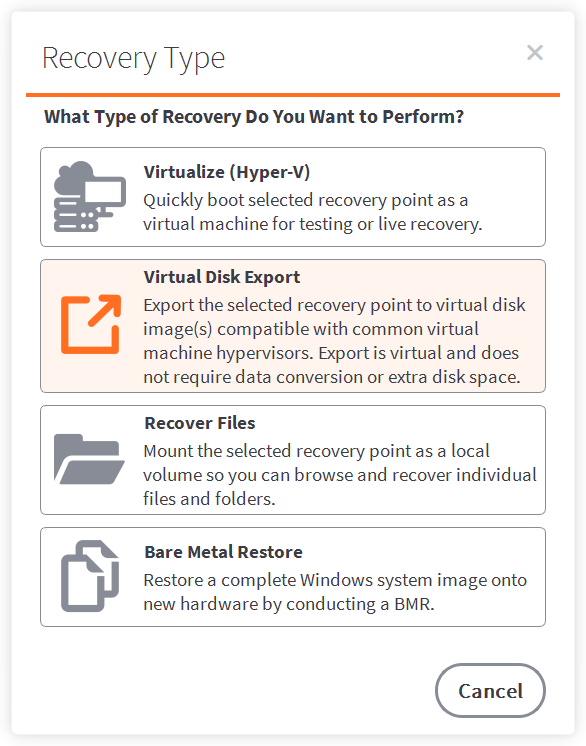
1. Click Start New Recovery to open the recovery wizard.

2. For Recovery Type, select Virtual Disk Export.
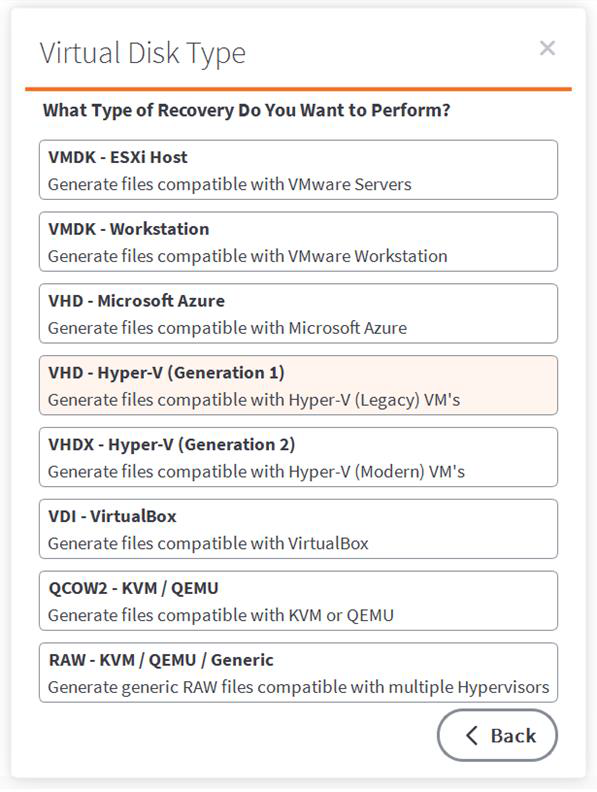
3. Make a selection for Virtual Disk Type:
- For classic BIOS-type protected systems, choose either VHD or VHDX format for virtual disk export.
- For modern EFI type protected systems, only VHDX format is supported.
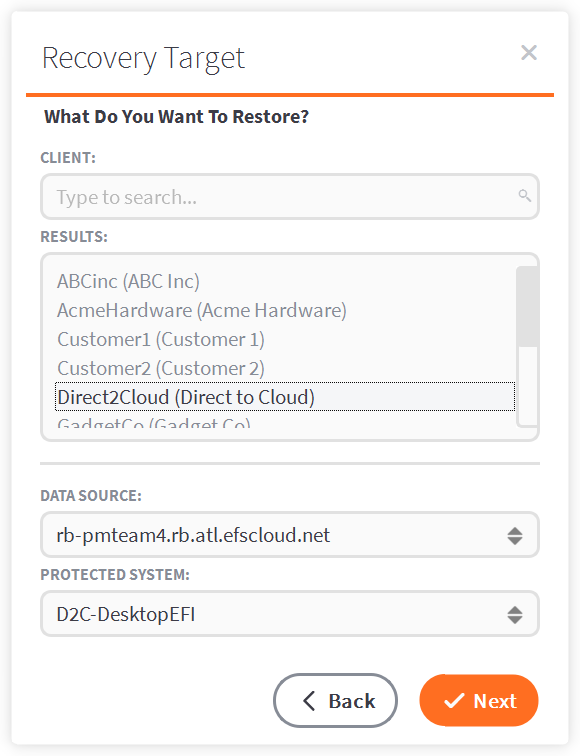
4. Select a Client, Data Source, and protected system to recover.
Click Next to continue.
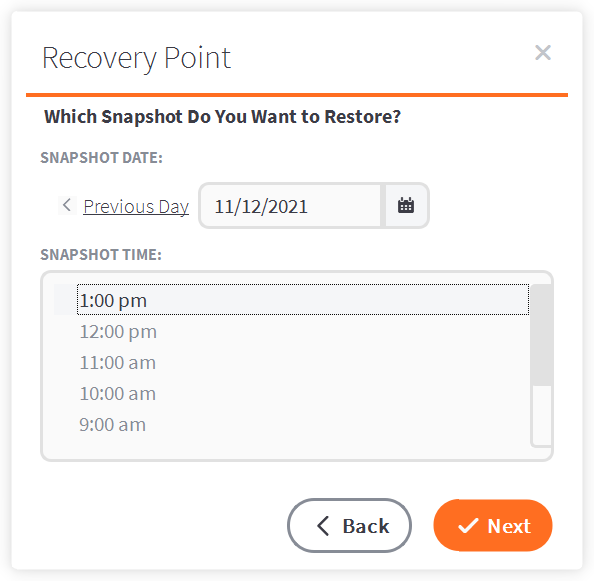
5. Select a snapshot date and snapshot time.
Click Next to continue.
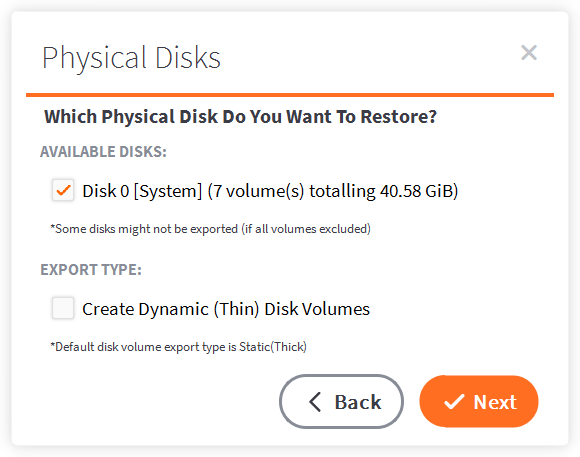
6. Select Physical Disk options and click Next to continue.
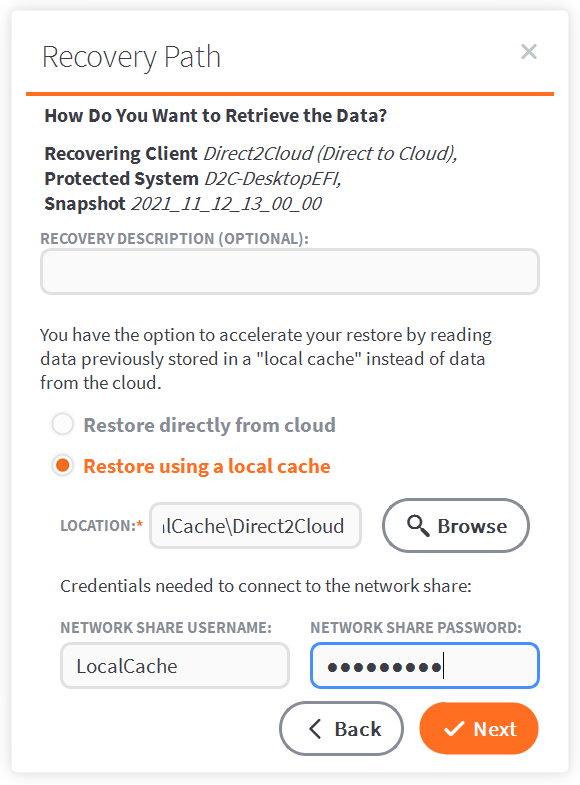
7. To specify a Recovery Path, choose Restore using Local Cache.
Provide the local cache location (and credentials as necessary).
Click Next to continue.
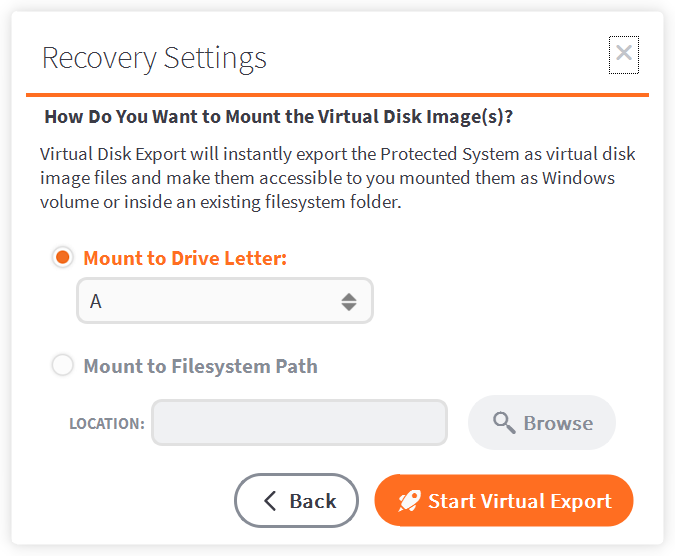
8. For Recovery Settings, specify where to mount the virtual disk images.
Note: Remember this path. This path information will be needed later when defining your Virtual Machine settings.
Click Start Virtual Export to continue.
9. Once the Export Recovery Started screen appears, click Close.
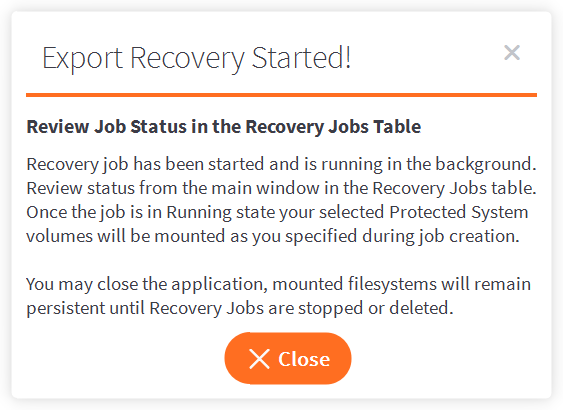
10. Monitor the job status until the Status reaches Running.
Metadata and boot system information will download from the cloud vault, and then Recovery Center will construct the protected system virtual disk images.

STEP 3. Use Hyper-V Manager to create a virtual machine
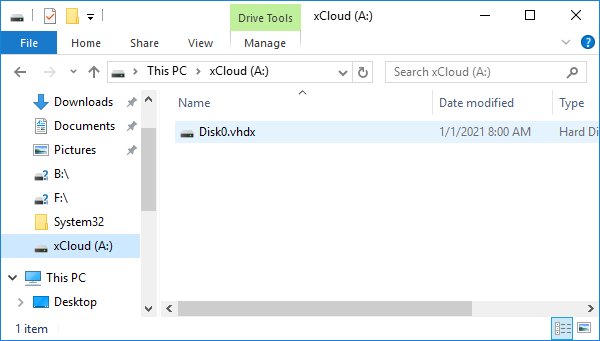
1. Verify that the virtual disk has been exported.
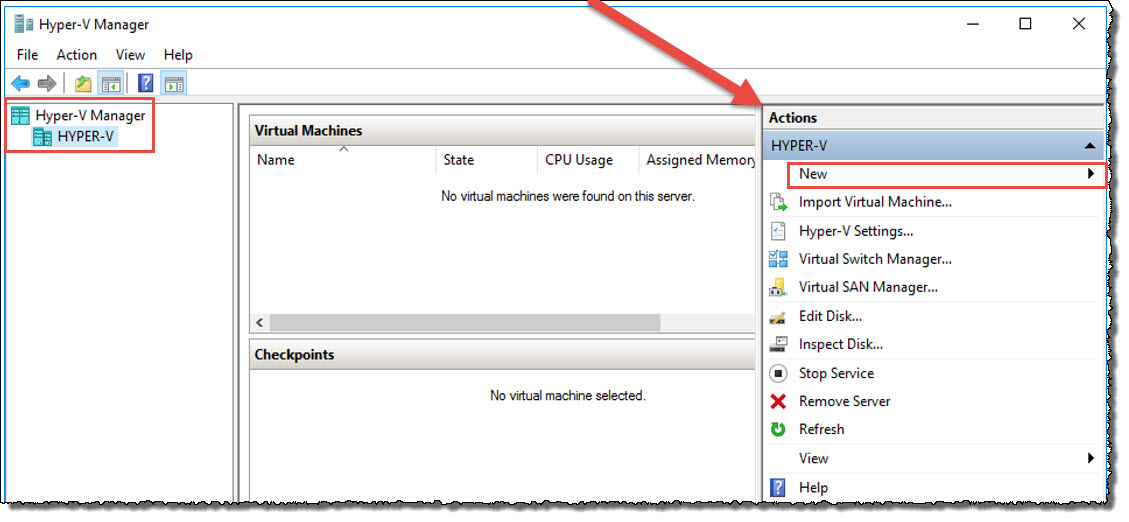
2. Open Hyper-V Manager.
Click Actions -> New -> Virtual Machine
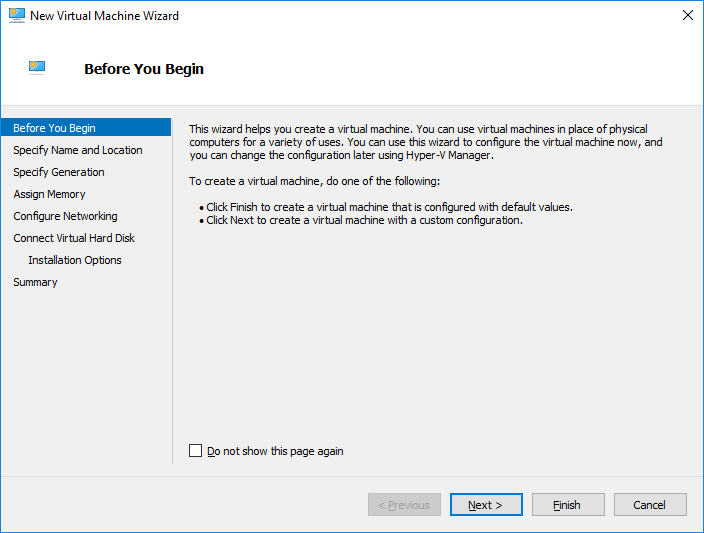
3. On the Before you Begin screen, click Next to continue.
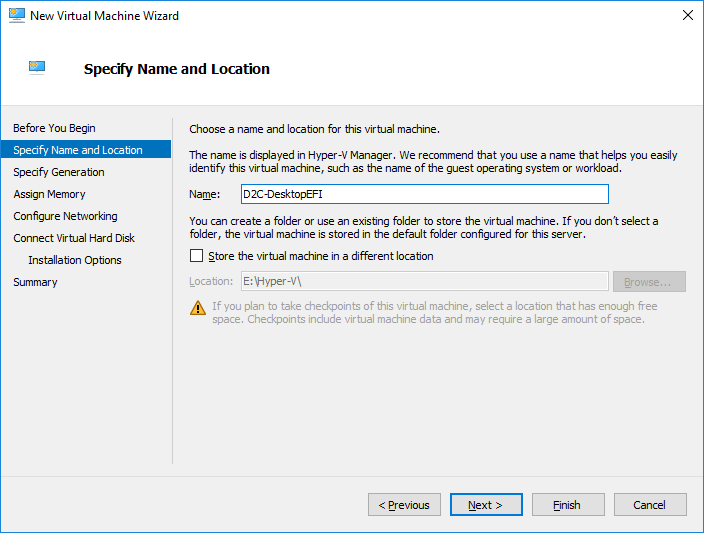
4. On the Specify Name and Location screen, provide a name for the virtual machine and click Next to continue.
Optionally, you can change the storage location for the virtual machine files.
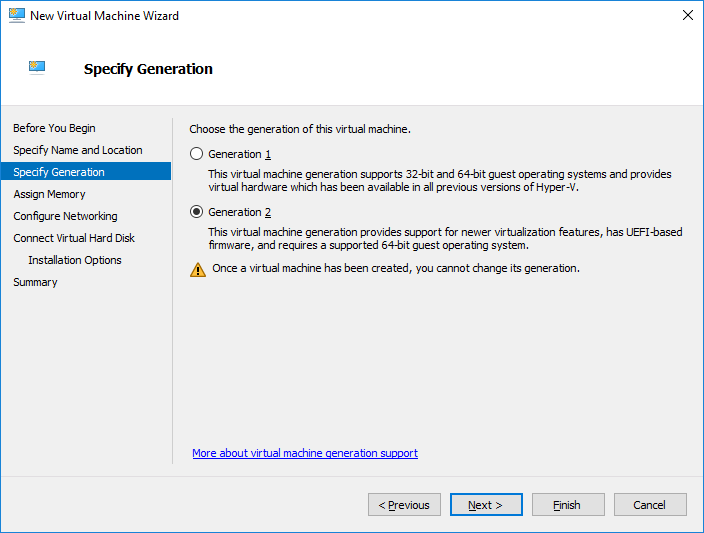
5. On the Specify Generation screen, select the appropriate generation:
- Classic Bios-type protected systems use Generation 1
- Modern EFI type protected systems use Generation 2
Click Next to continue.
6. On the Assign Memory screen, specify the amount of RAM to assign to the virtual machine and click Next to continue.

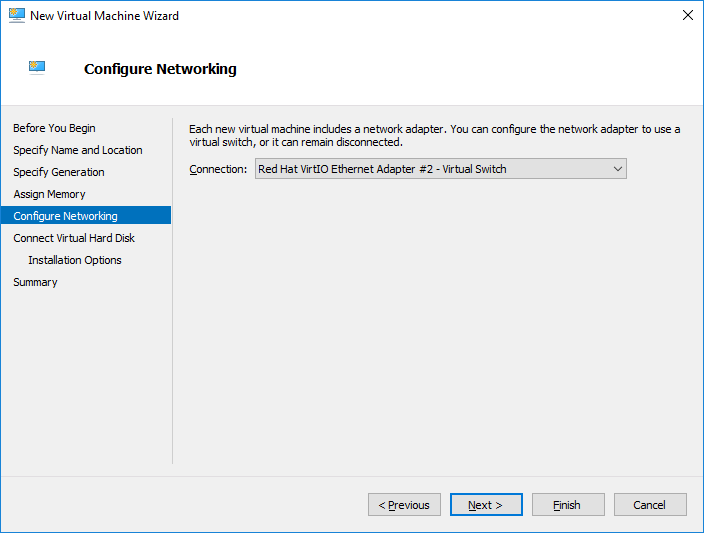
7. On the Configure Networking screen, choose the desired network connection.
For testing purposes, we recommend choosing the None selection, to ensure that the test virtual machine does not interfere with live machine activities.
Click Next to continue.
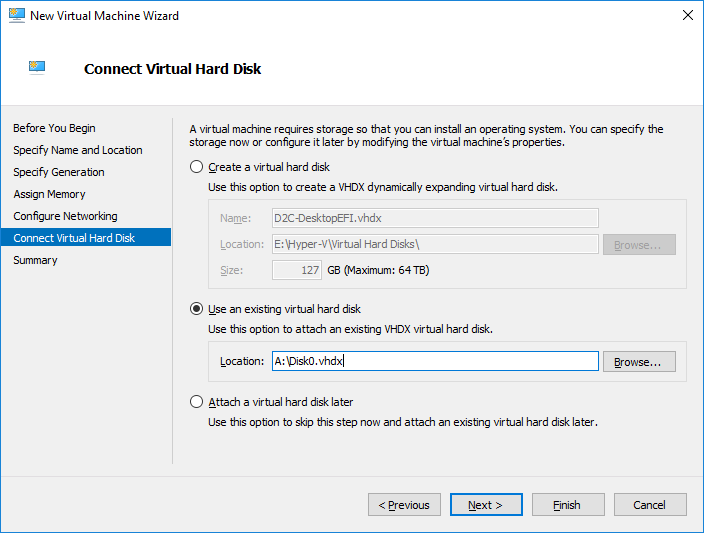
8. On the Connect Virtual Hard Disk screen, select Use an existing virtual hard disk.
Browse to select the virtual disk (exported by the running Recovery Center job) and then click Next to continue.
9. To complete this process, verify that the settings are correct and then click Finish to complete the creation of the virtual machine.
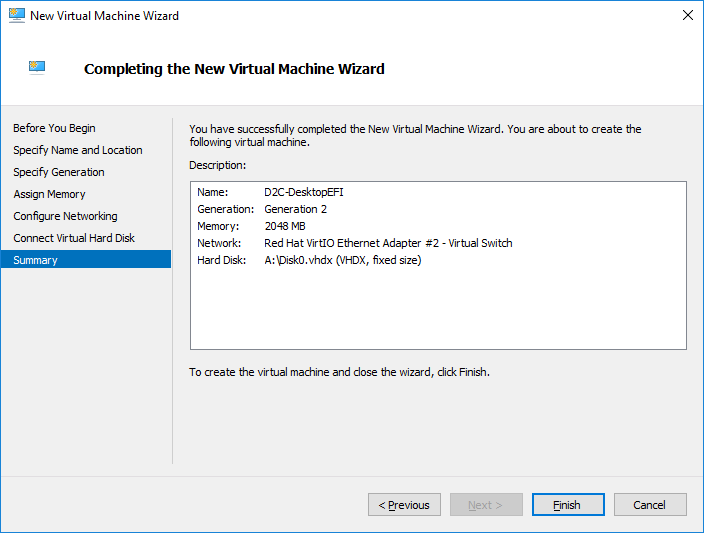
Your virtual machine is now ready to boot.
STEP 4. Open the virtual machine
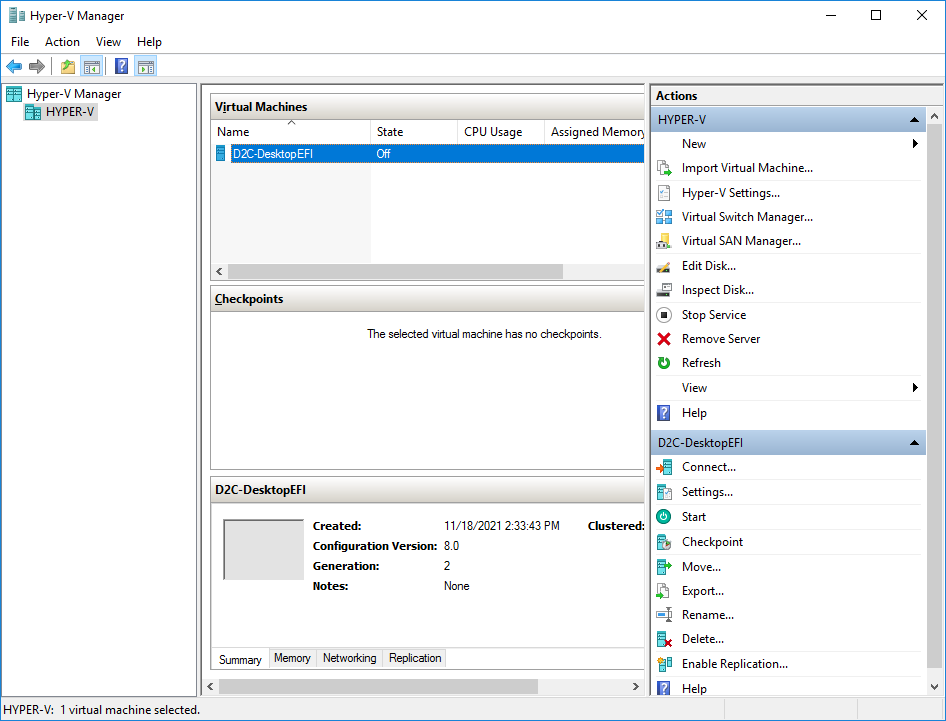
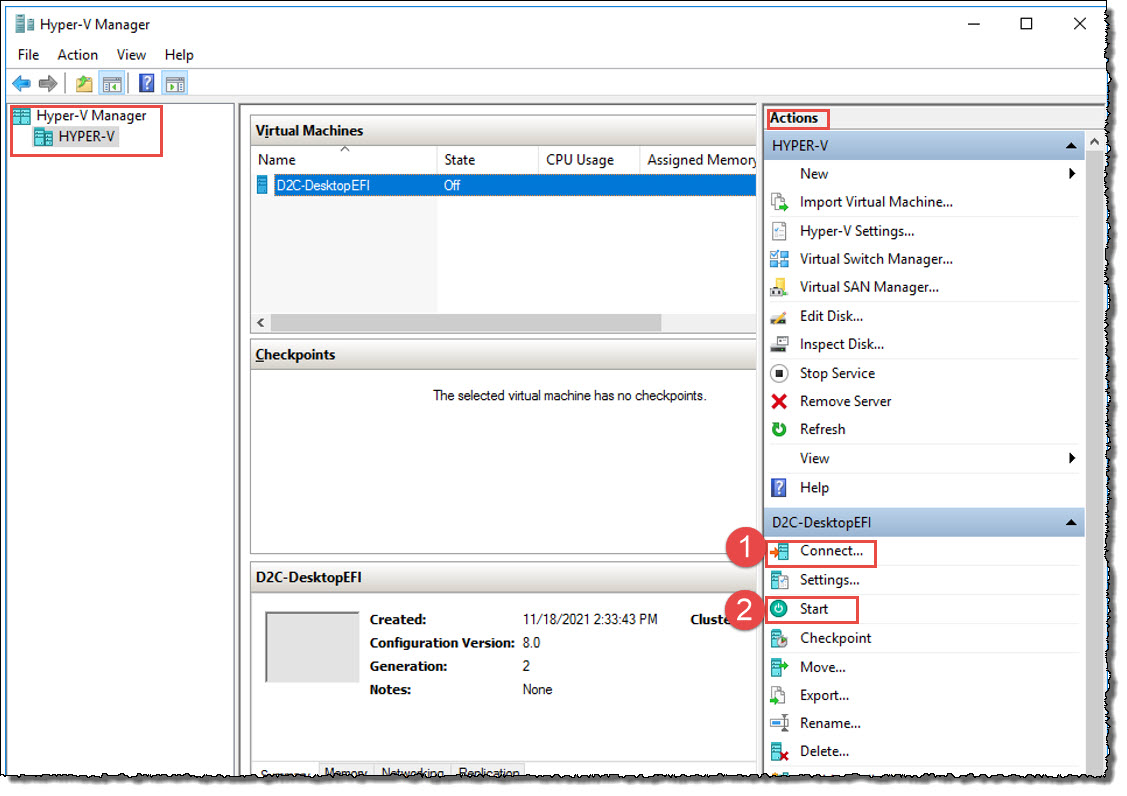
1. To open the virtual machine console window from Hyper-V Manager, highlight your virtual machine then click Actions -> Connect.
2. Click Action -> Start to power on and boot the virtual machine.
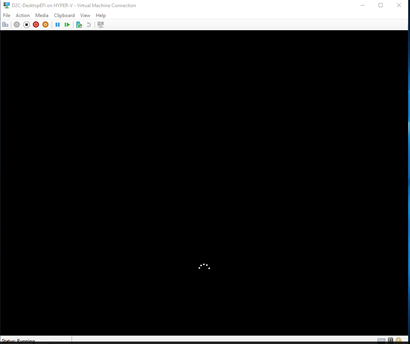
Your protected system is now running as a virtual machine, using local cache for data acceleration. Your recovery is now complete.
Monitor backups made while virtualized
The virtual machine should continue to make new backups to the cloud, as long as internet access is available.
To verify that new backup jobs are being performed via x360Recover Manager, log in to Manager.
Navigate to the Protected System page to verify the latest backup recovery point. (You may also wish to navigate to the vault and check the protected system directly, either from the Protected System Details page or the Jobs -> Backups page.)
- If the local cache repository is on a network share that is accessible to the virtual machine, updates to local cache data will continue while the protected system is virtualized.
- If the local cache repository is on physical storage connected to the Hyper-V host, updates to the local cache will not be made. After recovery is completed and the local cache disk can be reattached to the virtual machine, local cache verification will repopulate the cache with any data missing from the cache.
Changes to the running virtual machine will be stored on the Hyper-V host on a copy-on-write virtual disk image located in the Recovery Center working directory.
If you have a permanent storage location available for Hyper-V virtual machine disks, you may perform a live migration of this protected system. Live migration will relocate the disk data from the synthetic virtual filesystem created by Recovery Center from your local cache data onto real physical storage, all without having to shut down the running virtual machine.
How to perform a live storage migration
1. Open Hyper-V Manager.
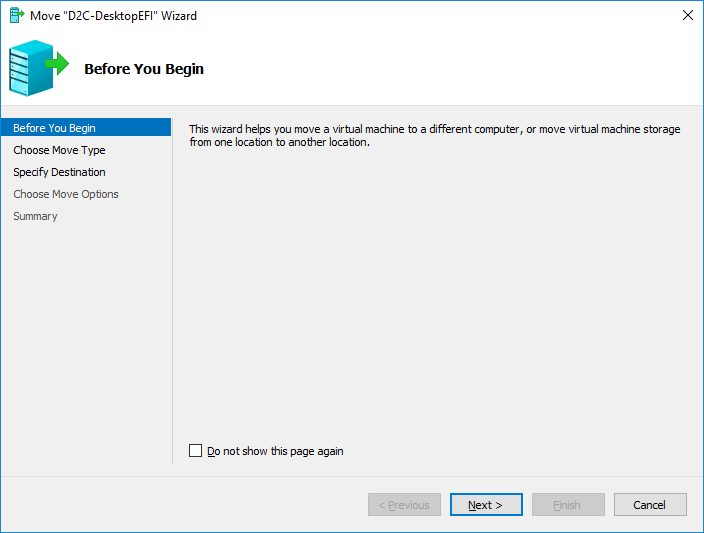
2. Click Action -> Move
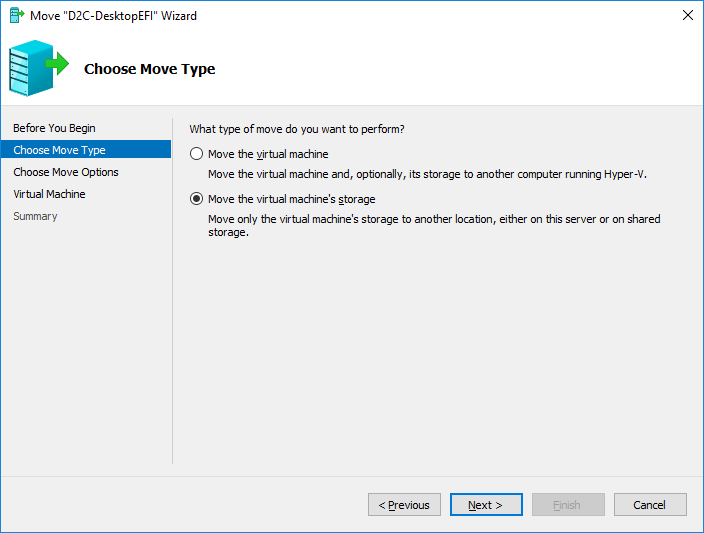
3. When the Before You Begin screen opens, click Next to continue.
4. Select Move the virtual machine’s storage and then click Next to continue.
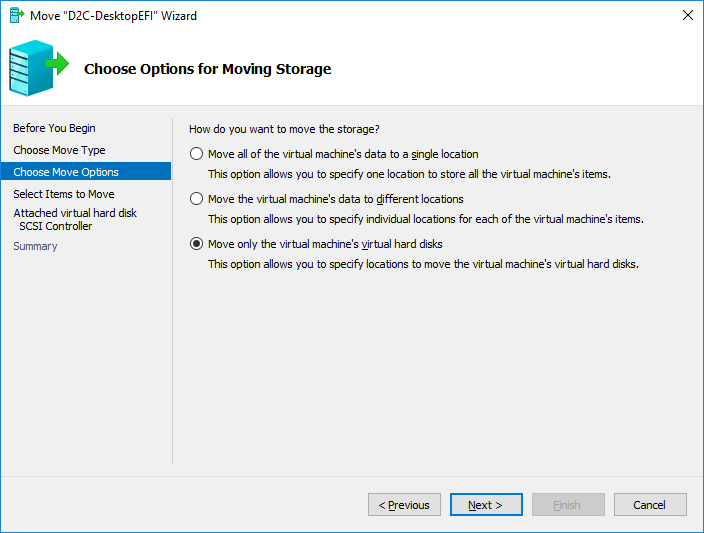
5. On the Choose Options for Moving Storage screen, Select Move only the virtual machine’s virtual hard disks.
Click Next to continue.
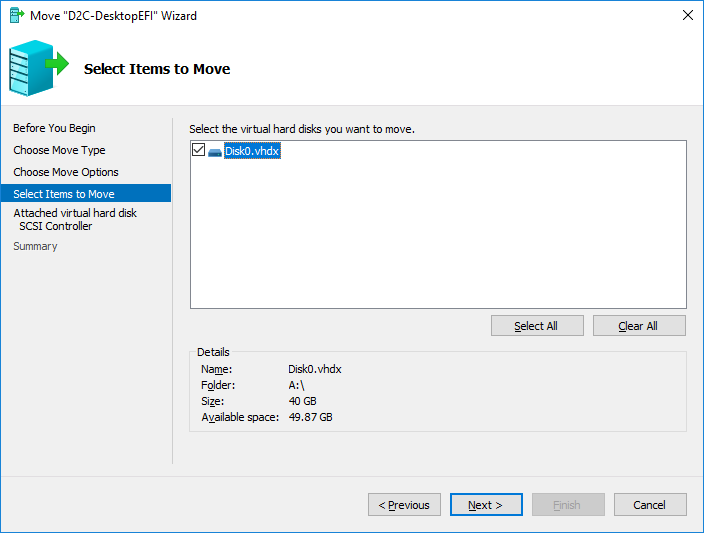
6. Select all of the virtual machine disks you wish to move and click Next to continue.
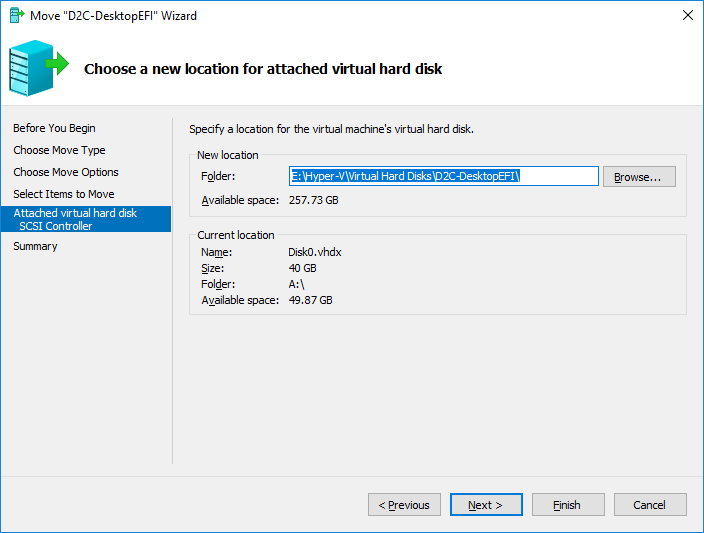
7. On the Choose a new location for attached virtual hard disk screen, specify the new location where you wish to relocate the virtual machine disks. Ensure that the target location has enough free space for all the virtual disks that you are moving.
Click Next to continue.
Verify the specified settings and click Finish.
8. Progress of the move operation will be displayed
9. Once the move operation is completed, the Recovery Center job can be stopped and discarded. (The recovery job is no longer needed.)
Your protected system has been fully recovered back to physical storage as a permanent virtual machine.
SUPPORT | 720-204-4500 | 800-352-0248
- Contact Axcient Support at https://partner.axcient.com/login or call 800-352-0248
- Free certification courses are available in the Axcient x360Portal under Training
- Subscribe to the Axcient Status page for a list of status updates and scheduled maintenance
998