

|
Essential User Guide
|
Other resources:
|
In this section: Configure x360Recover
- Understand agents
- Install an agent
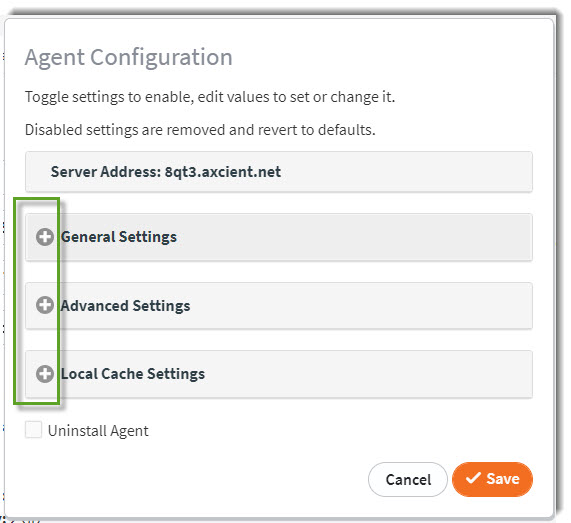
- Configure an agent
- Backup policies (schedules)
-
Manage licenses in the r
The Axcient cloud
Did you know you already have a vault?
All Axcient x360Recover partners have a vault provisioned within the Axcient Cloud.
Access your Axcient cloud vault via the x360Recover Manager dashboard.
Install a private cloud vault
If you are configuring a private cloud vault, you will need to install the software on your vault.
Note: If you are vaulting to the Axcient Cloud, you can skip this step.
1. Navigate to the Downloads site and download the ISO file.
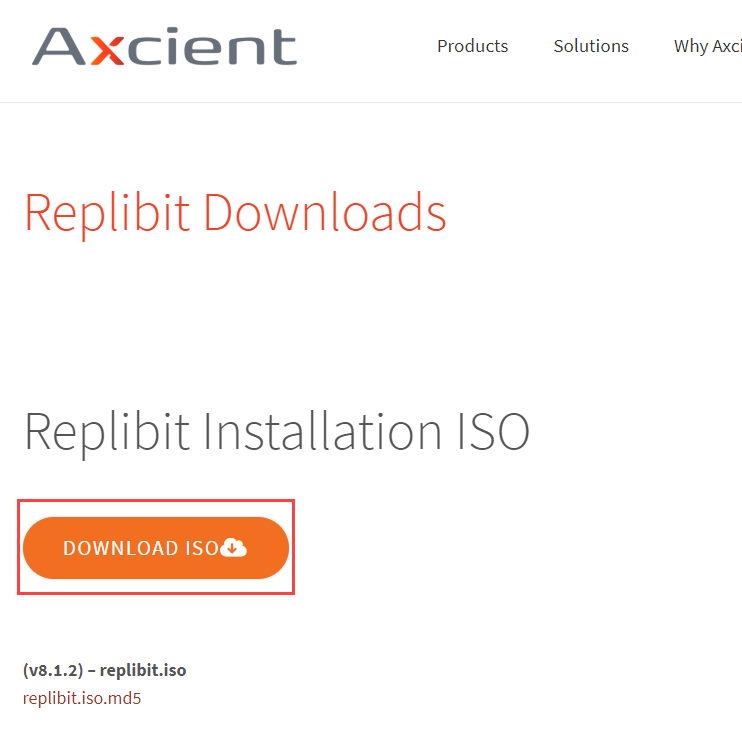
You will need to create a bootable flash with this ISO file.
2. Insert your USB drive into your hardware and power on the vault. When booting the OS, a message displays, prompting you to select an installation type.
Select Standard Installation.

3. When the installation process is complete, you can remove your USB flash drive and click the Restart Now button to restart your machine.
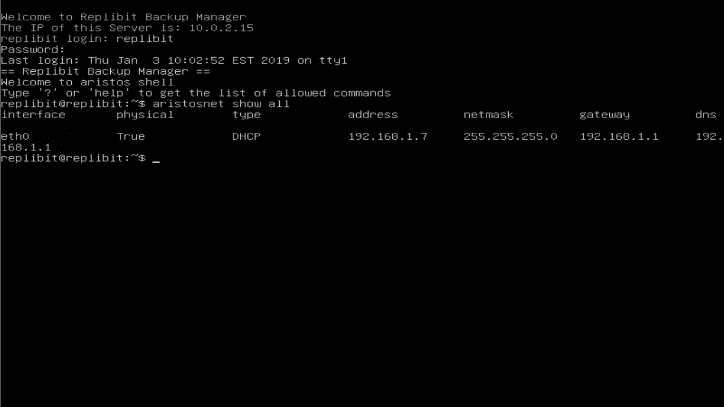
4. Power on the vault. Record the IP address of the vault.
Note: Your private cloud vault will need its own dedicated Public IP address, or you will need to configure a third-party VPN tunnel solution to route traffic from your Appliances. We recommend creating a dedicated Public IP address.
DeleteLog in to the vault UI
When the vault is configured and ready to be used, you will be able to access the vault web interface from any browser.
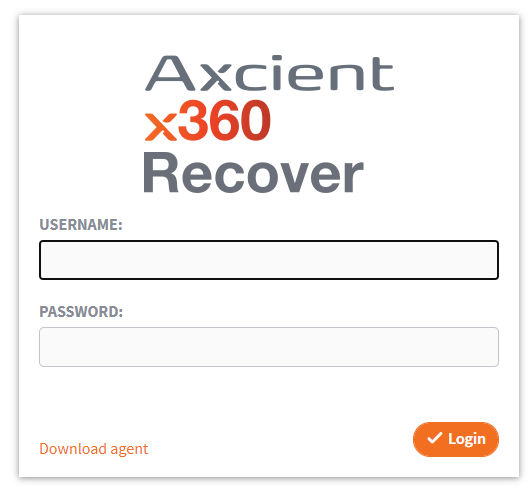
To log in to the vault UI:
1. Navigate to the vault web interface and log in.
2. In the vault web interface, you will be prompted to configure storage pool settings.
- If you are vaulting to the Axcient cloud, please note that storage disk redundancy is provided.
- If you are configuring a self-hosted vault, you should select an appropriate RAID level to provide data redundancy for your vault.
3. If you are vaulting to the Axcient Cloud:
- Select the Manage Settings tab
- Click to expand the Storage Pool section.
- In the RAID Level section, select the RAID Level 0 option.
- In the Compression Level section, select the LZ4 option.
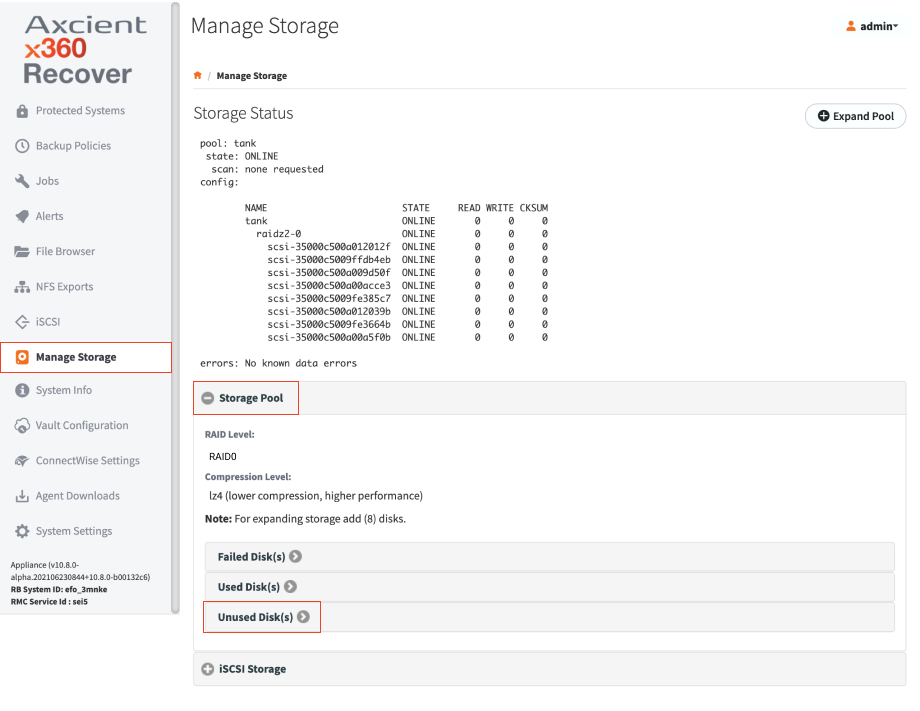
- Expand Unused Disks and click to select the available Disk(s).
- Click the Create Storage button to continue.
- When the confirmation message appears, click Yes to continue.
Note: If you are vaulting to your own Private Cloud, you will need to configure the storage pool according to best practices.
DeleteHost a private cloud vault for Direct-to-Cloud (D2C)
x360Recover release 10.6.1 now supports Direct-to-Cloud (D2C) backups on your self-hosted private cloud vaults. Enable this feature to provide all the functionality of Axcient-hosted D2C backups.
Prerequisites
Hosting D2C backups on your self-hosted vaults has some requirements above and beyond those of normal vault operation.
Firewall ports
Additional services will be running to receive backup data, so additional firewall ports will need to be opened.
The following firewall ports must be opened from the internet to your vault:
- TCP 80 (Http)
- TCP 443 (Https/TLS)
- TCP 9079 (Thrift/TLS - Endpoint Manager)
- TCP 9082 (Thrift/TLS – Cloudserver)
- TCP 9090 (Thrift/TLS – Backup Manager)
Static, public IP address and publish DNS 'A' record
Also, your vault will require a static, public IP address and a public DNS ‘A’ record to provide the Fully Qualified Domain Name (FQDN) address of the vault.
Note: Ensure that your vault is assigned a public Static IP address and has a DNS ‘A’ record created. Direct-to-Cloud mode requires that the vault be assigned a valid publicly trusted certificate, and certificates cannot be assigned to a simple IP address. (Certificate management is handled automatically by the system.)
How to enable D2C on private vaults
Once you have satisfied the prerequisites for firewall ports, IP address and DNS records, you may enable Direct-to-Cloud functionality.
1. Login to the vault and navigate to System Settings -> Direct to Cloud
2. Click the check box for Enable Direct to Cloud.
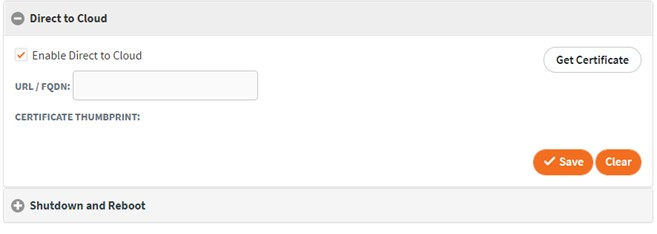
3. Enter a valid FQDN address for the vault and click Get Certificate.
Note: You CANNOT use a simple IP address. You must enter a valid domain URL that is publicly accessible from the internet in order for certificate generation to be completed. Direct-to-Cloud cannot operate without a valid, publicly trusted certificate.
4. If the certificate registration is completed successfully, click Save to commit the settings.
Registration
Certificate registration is provided by Let’s Encrypt, a free public certificate signing service that is widely accepted and is supported by the x360Recover agent.
Successful signing requires that both HTTP and HTTPS (ports 80 and 443) be opened on the firewall, and that both are accessible to the Let’s Encrypt servers using the FQDN name specified.
Once the certificate is obtained and settings are saved, Direct-to-Cloud services are now available for this vault.
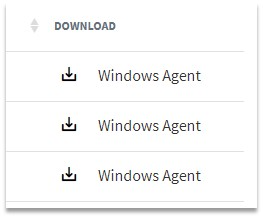
Locate the Direct-to-Cloud agent installer DOWNLOAD links on the User page to begin deploying agents.
SUPPORT | 720-204-4500 | 800-352-0248
- Please contact your Partner Success Manager or Support if you have specific technical questions.
- Subscribe to the Axcient Status page for a list of status updates and scheduled maintenance.
610
1143
Cover