
Note: These instructions are Mac-specific.
For Windows instructions, see Install, register and configure the Desktop Client
Overview of the Mac Desktop Client
End users can access their files, folders, and shared content from a multitude of end points, including the web portal, a mobile device, or their desktop client.
This article describes how an end user can install and register the Mac desktop client (Synced Tool) on a local machine. It also provides instructions and best practices for using the desktop client, updating the desktop client, and managing preferences.
Installation and registration instructions
Install the Desktop Client
| Note: Guest accounts cannot register the desktop client. |
1. Log in to the x360Portal and launch the x360Sync tile.
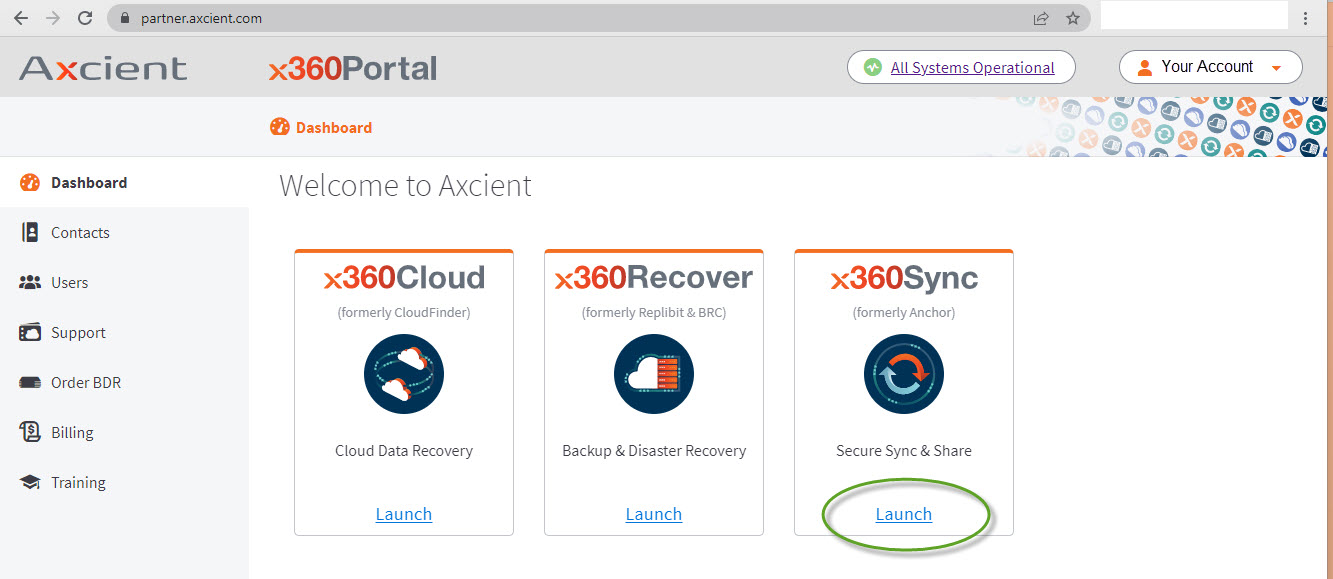
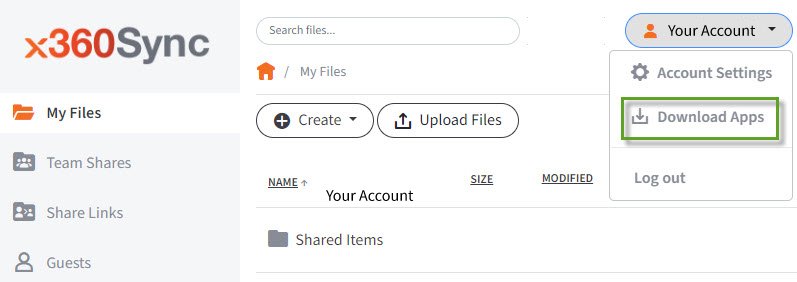
Navigate to the account settings button, in the upper right corner.
Click the dropdown arrow from the account settings button and select Download Apps.
2. When the Download page opens, select the Mac Thick Client:
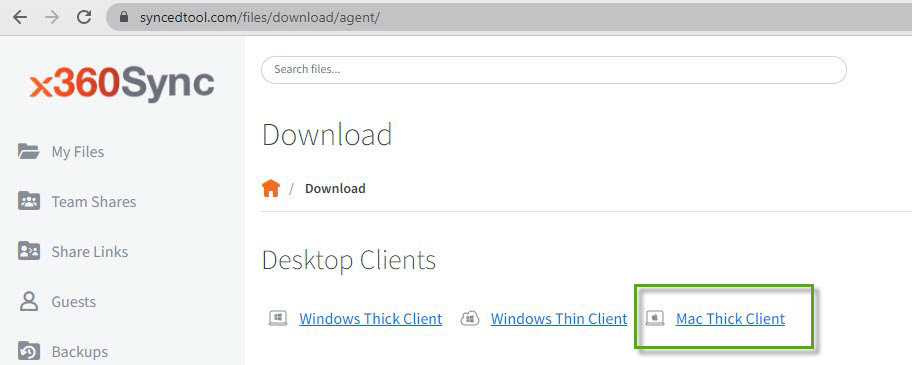
The selected file will start to download.
3. When the file finishes downloading, click the installation file to launch the Setup Wizard. 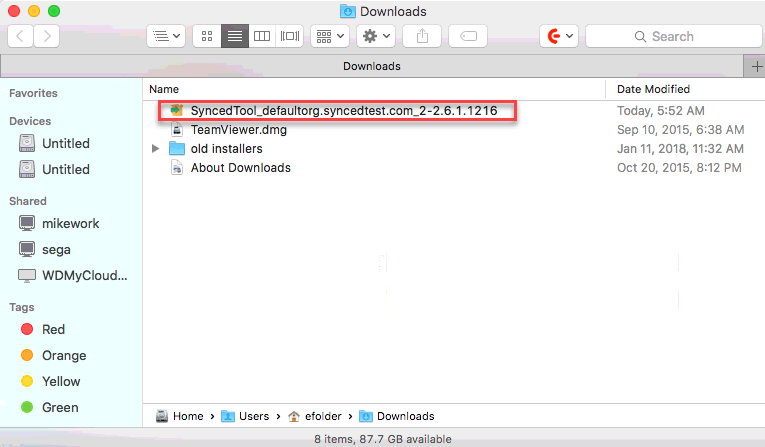
4. Select your language and click the OK button to continue.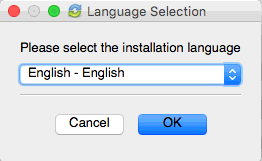
5. Click the Next button to start the Setup Wizard.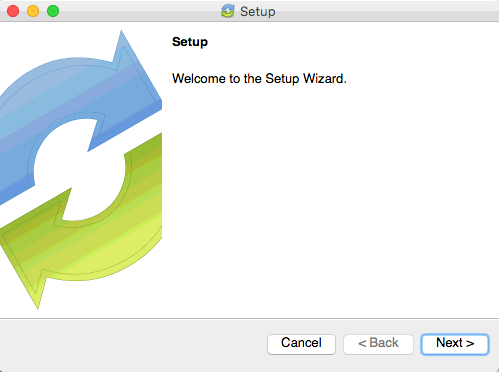
6. In the License Agreement page, click to accept or not accept the agreement. To continue with the installation process, you must accept the agreement.
Click the Next button to continue.
7. Specify the directory in which you would like to install Synced Tool. In most instances, you can accept the default installation directory.
Alternatively, you can manually input a new directory or click the Folder icon to select a new directory on your local machine.
Warning: When selecting a Synced Tool installation directory, do not select an external drive or a network path. Desktop clients installed on an external drive can unregister unexpectedly, behave incorrectly, and might even cause data loss. A network path for the installation directory is not supported.
8. You are now ready to begin the installation process.
Click the Next button to start the installation process.
9. When the installation is complete, you can optionally choose to create a shortcut.
Click the Finish button when you are done.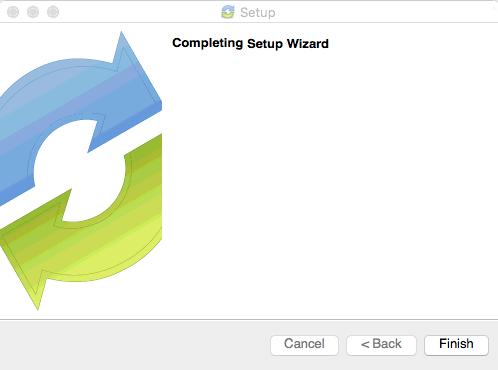
Now that Synced Tool has been installed, it must be registered to a user account.
Register the Desktop Client
Note: On a Mac machine, the Synced Tool icon is located in the upper right-hand corner of the screen.
1. After the Setup Wizard completes, the Registration Wizard will automatically launch.
Alternatively, click the system tray icon and select Register.
The Registration Wizard displays.
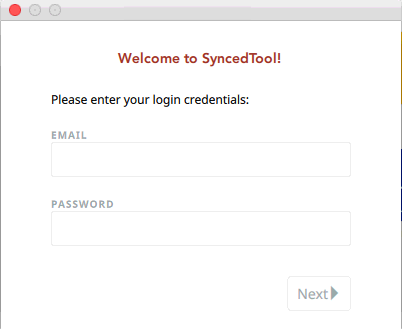
2. In the Registration screen, enter the email address and password provided by the Welcome email and click the Next button to continue.
| Note: For information on how Active Directory users register, please reference the How Do Users with AD Credentials Log In and Register Knowledgebase article. |
3. In the Select Destination of Folder screen, choose either a typical or advanced installation path, where all files, folders, and shares can be accessed on your local machine.
In most instances, you can select Default, and you will be able to access your synced folder in the following location: C:\Users\[User Name]\Synced Folder.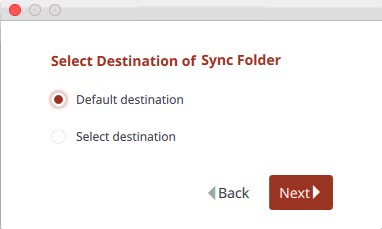
- Alternatively, you can specify a custom location where Synced Folder can be accessed. For instructions, please reference the Changing the Location of the Desktop Client Knowledgebase article.
Warning: When selecting a Synced Folder location, do not select an external drive or a network path. Doing so might result in unexpected program behavior and even lead to data loss.
4. If you have previously installed Synced Folder using the same settings, you will receive a warning message indicating that a folder already exists. Click the Merge button to merge with the existing folder, which saves time during the resyncing process.
5. In the Choose Folders for Selective Sync screen, click the Select what to sync to this device now radio button to deselect content that you do not want on your local machine. For instructions, please reference the Selective Sync Knowledgebase article.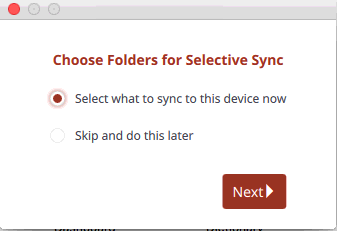
6. Click the Next button to continue, and then click the Finish button when the wizard completes.
Important: You must restart your computer to complete the installation or upgrade process.
Use the Desktop Client
Important: You must restart your computer to complete the installation or upgrade process.
By default, your synced folder can be found in your Finder Favorites menu.
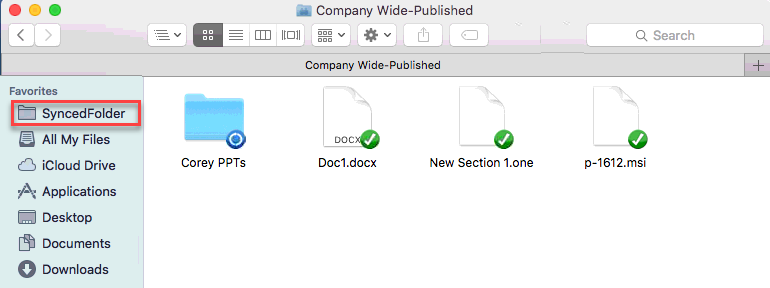
The desktop client uses icons to indicate new and updated files or folders, including:
| Synced: |  |
| Syncing: |  |
Manage preferences
1. Click the system tray icon, click the Manage icon, and select Preferences.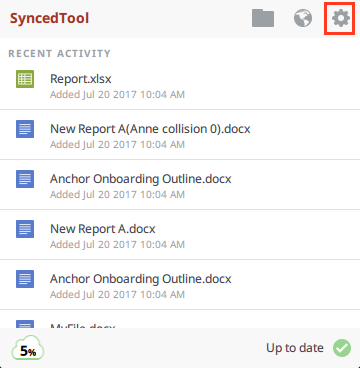
2. The Preferences dialog box displays, showing the Overview tab.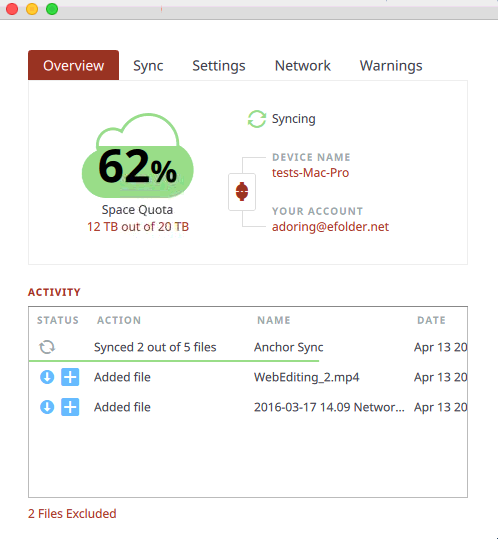
2. In the Overview tab, you can view or change the following information:
- The current state of the sync process, including whether the files are up to date, pending sync, or currently syncing
- The total amount of space quota available and the total amount of space used
- The device name and the device account information
- The Unregister button, which unregisters the desktop client
The Activity area, which lists the status of uploaded and downloaded files, as well as a notification of excluded files, which links to details about each exclusion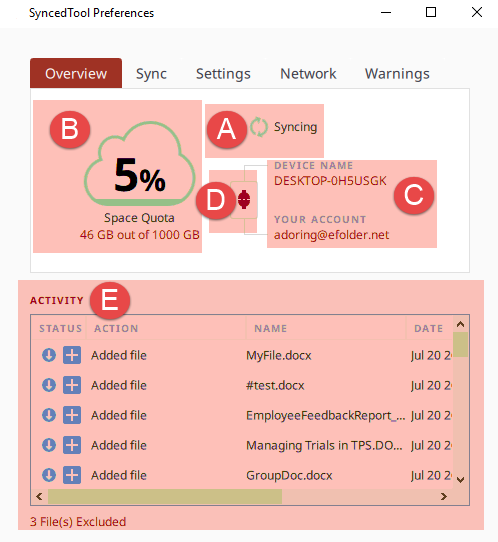
3. Click the Sync tab to select and deselect the Team Shares, personal folders, and subfolders that you do not want available on your local machine.
You can also use the arrow buttons on your keyboard to navigate this screen.
For more information, please reference the Selective Sync Knowledgebase article.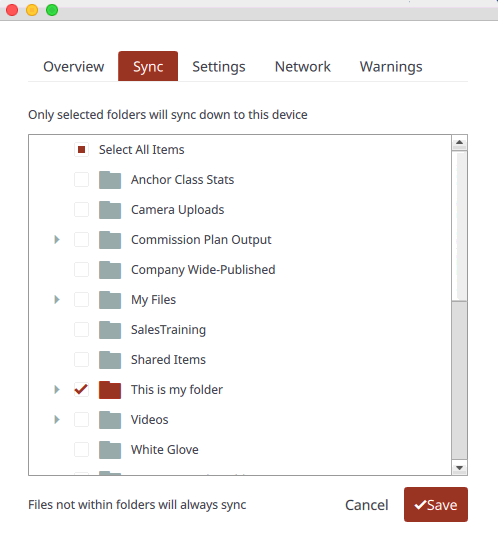
4. Click the Settings tab to specify language, locking, and remote browsing settings.
For example:
Click the Language drop-down menu to select your preferred language. You can also use this section to hide or show the system tray icon and notifications.
In the File Locking section, click the Auto Locking drop-down menu to set your preferred auto-locking preference. If your administrator has turned on the Auto-Locking for Word and Excel feature for a Team Share, you can decide to automatically lock, never lock, or receive a prompt each time you open a Word or Excel file in a Team Share.
In the Privacy section, click the Disable Remote Browsing checkbox to prevent administrators from remotely browsing the contents of your Synced Folder (for example, to create a backup of your local folders).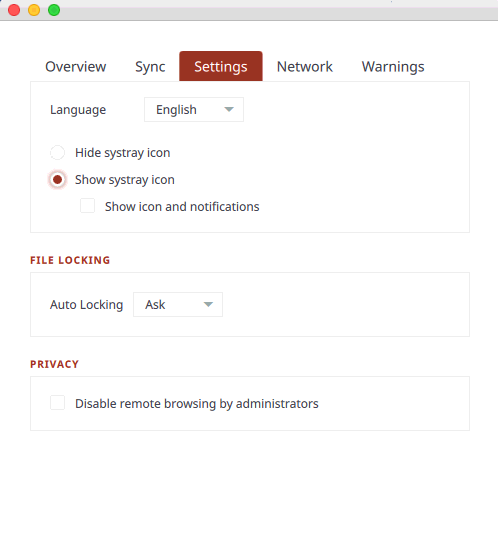
5. Click the Network tab to manage LAN Sync, bandwidth, and proxy settings. For example:
- If you are working within a Local Area Network (LAN), click the Enable LAN Sync check box to turn on the LAN Sync feature. LAN Sync refers to a file synchronization approach that accelerates the sync process when a shared file already exists on a LAN. For more information, please reference the Managing LAN Sync Knowledgebase article.
- Use the Bandwidth Throttling section to configure bandwidth settings; you have the option to set a specific limit, or decide not to limit bandwidth. Please note that these settings might change based on administrator settings. For more information, please reference the Configuring Bandwidth Throttling Settings Knowledgebase article.
- Click the Proxiesdrop-down to configure proxy settings for your network. You can select from:
- No proxy
- Detect Automatically, which autodetects proxy settings from your system or network
- Custom, which allows you to apply custom proxy configurations if you are unable to automatically have the system detect your proxy server settings

6. Click the Warnings tab to view a list of file sync warnings including conflicts.
For more information on how to resolve file sync warnings, please reference the Manually Resolving a File Sync Warning Knowledgebase article.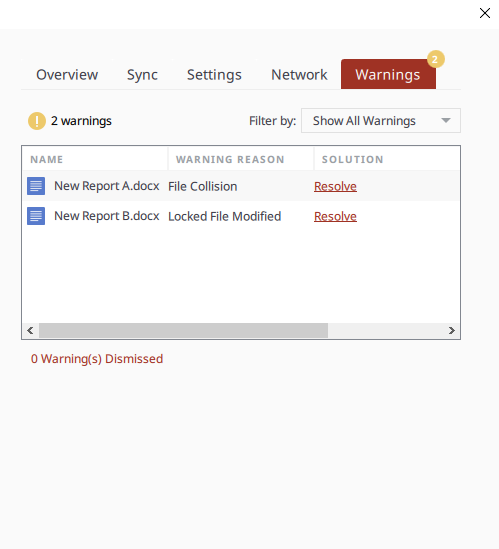
View warning messages
Warning messages captured in the Warnings tab also display in the system tray menu.
To view a summary of these indicators, click the system tray icon and reference the system tray menu.
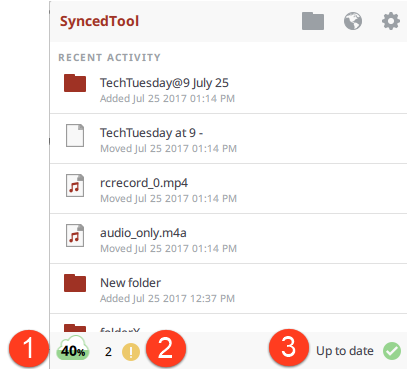
![]() The Space Quota indicator message displays the amount of space you are currently utilizing.
The Space Quota indicator message displays the amount of space you are currently utilizing.
![]() The Sync Warnings indicator activates when a file sync warning—such as a collision or a locked file revision—occurs on your local machine. When this indicator is active, click to resolve the file sync warning. For more information, please reference the File Sync Warnings Knowledgebase article.
The Sync Warnings indicator activates when a file sync warning—such as a collision or a locked file revision—occurs on your local machine. When this indicator is active, click to resolve the file sync warning. For more information, please reference the File Sync Warnings Knowledgebase article.
![]() The Status indicator displays the progress of the sync process. This indicator will alert you when the sync process is up to date, syncing, paused, or disconnected. You can also hover over this indicator to enable pause and resume functionality.
The Status indicator displays the progress of the sync process. This indicator will alert you when the sync process is up to date, syncing, paused, or disconnected. You can also hover over this indicator to enable pause and resume functionality.
How to find the uninstaller for the Mac desktop client (Synced Tool)
To find the uninstaller for the Mac desktop client, try these steps:
1. In Finder, navigate to Applications and select the desktop client.
2. Right-click the desktop client and select Show Package Contents.
3. Click to expand the Contents folder.
Next, click to expand the Resources folder.
Finally, double-click to launch the Uninstall icon. The application will then uninstall.
4. Remember to reboot the machine to complete the process.
Note: Sometimes, the uninstaller for the Mac desktop client (Synced Tool) is found under the folder named
/etc/Anchor
For MacOS Catalina, we found the uninstaller under
/private/etc/Anchor/uninstall.app
SUPPORT | 720-204-4500 | 800-352-0248
- Contact Axcient Support at https://partner.axcient.com/login or call 800-352-0248
- Free certification courses are available in the Axcient x360Portal under Training
- Subscribe to the Axcient Status page for updates and scheduled maintenance
1446 | 1714