
Overview
With reports, you can track various activities within the system, and export the report to your local machine. You can also set up recurring reports. Use the Reports page in the administrative web portal to generate these reports.
Use Case
Reports can be used to help monitor important events, or even support billing tasks. For example, you can create a Storage Usage report to view data usage details, or a User Account report to count user accounts.
For an example on how to use reports to monitor machine health information, please reference the Use Case--How to Filter Reports Knowledge Base article.
Instructions
To create a report:
- In the Organization navigation menu, select the organization in which you want to create a report. The selected organization displays.
- Click the Reports tab. The Reports page displays.
- In the Reports page, click the Create Report button. The Report Settings section displays.
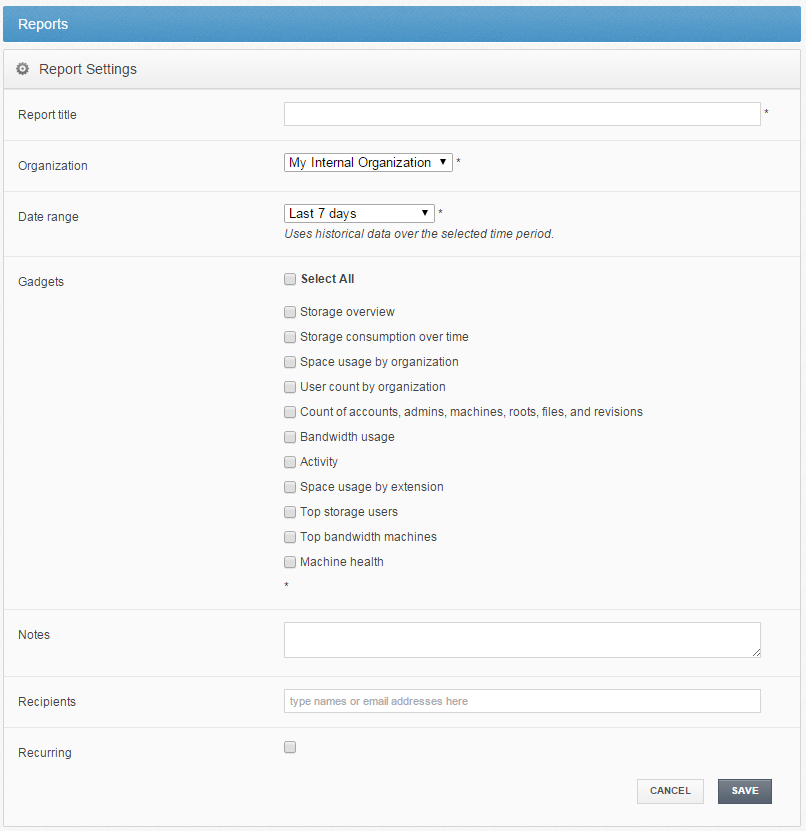
- In the Report Settings section, enter information for the new report.
- In the Report Title field, enter a name for the report.
- In the Organization drop-down menu, select the organization for which the report will apply.
- In the Date Range drop-down menu, select Now to use data available from the point in time when the report is run. Alternatively, select a time period to report on historical data.
Note: Different reports will become available based on the selected date range.
- In the Gadgets checkbox area, select the type of report you want to review. For example, you can view storage information, user information, bandwidth usage, activity, space usage, machine health, and so forth.
- In the Notes field, enter a descriptive summary or text that will help you identify the report.
- In the Recipients field, enter the names of users who should receive the report. The field will populate as you type, based on the characters that you enter.
- Select the Recurring checkbox to schedule a recurring report. The page will expand to allow you to schedule the report and optionally set an end date.
- Click the Save button when you are finished.
The report will be saved in the Reports page. - Optionally, use the Actions buttons to manage reports.
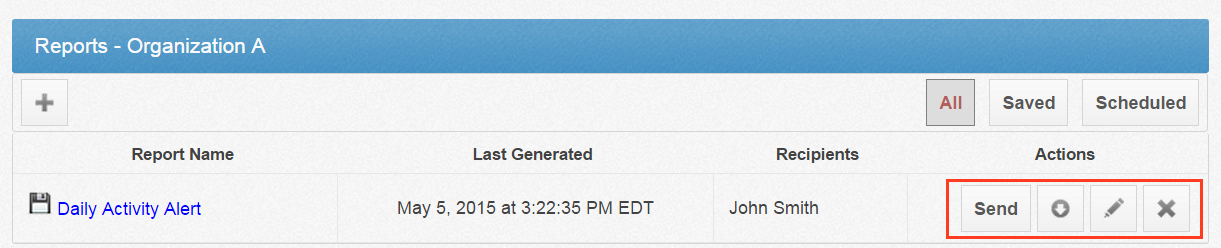
- Click the Send button to immediately send the report to the recipients specified in the Recipients field.
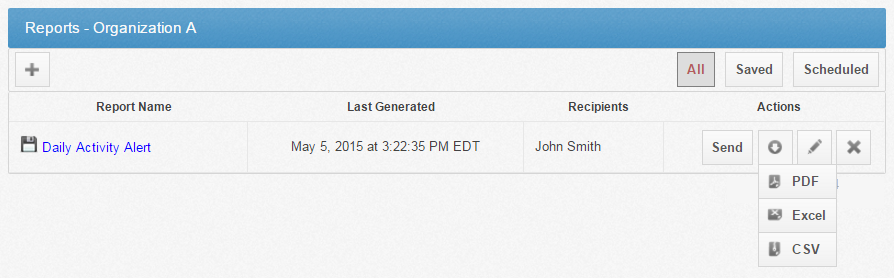
- Click the Download drop-down button to download the report to a PDF file, an Excel file, or a CSV file.
- Click the Edit Report button to edit the report.
- Click the Delete Report button to remove the report.