
After your ShadowProtect data has been fully copied to the Continuity Cloud (CC) node, it is ready for near-instant virtualization. To do this, we use StorageCraft’s VirtualBoot, within SPX, to create a virtual machine (VM) for each server to be virtualized.
Step 1. Click the ShadowProtect SPX desktop icon to launch the program:

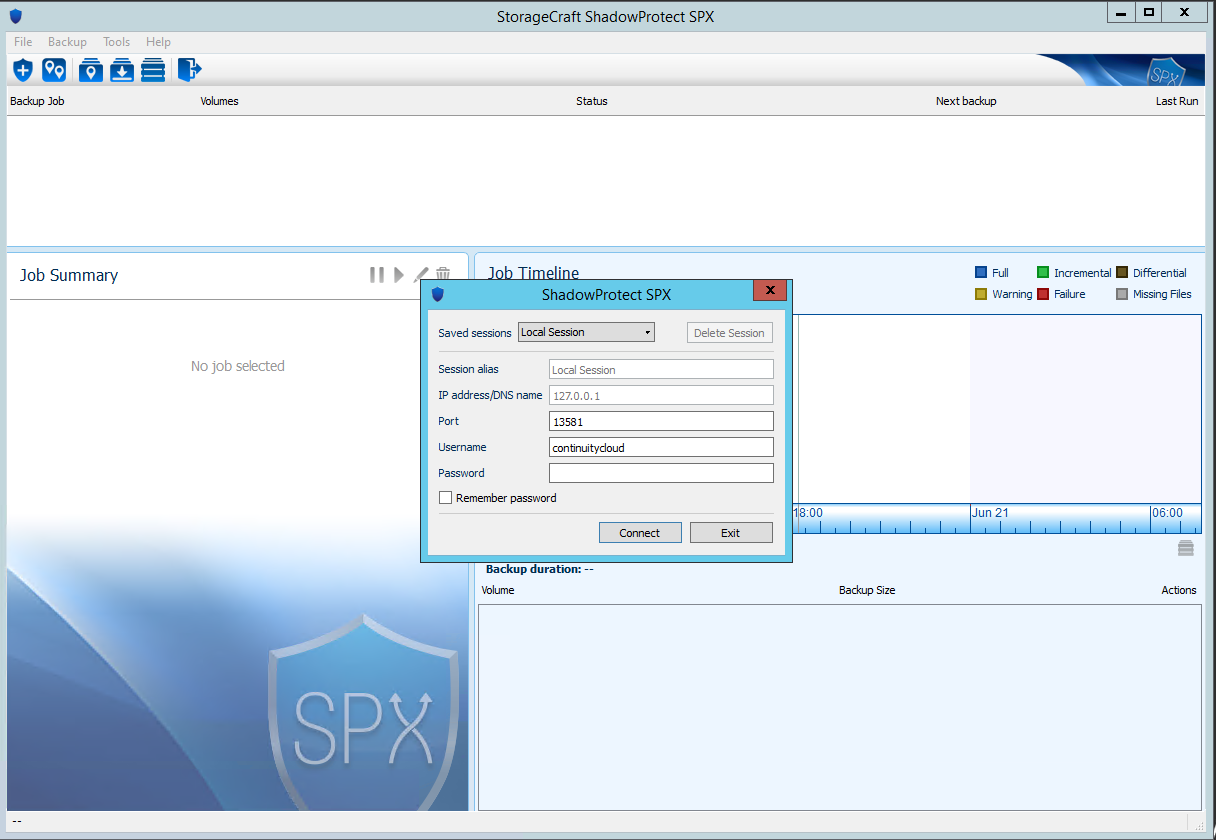
Step 2. Use your Continuity Cloud node credentials to log into SPX:
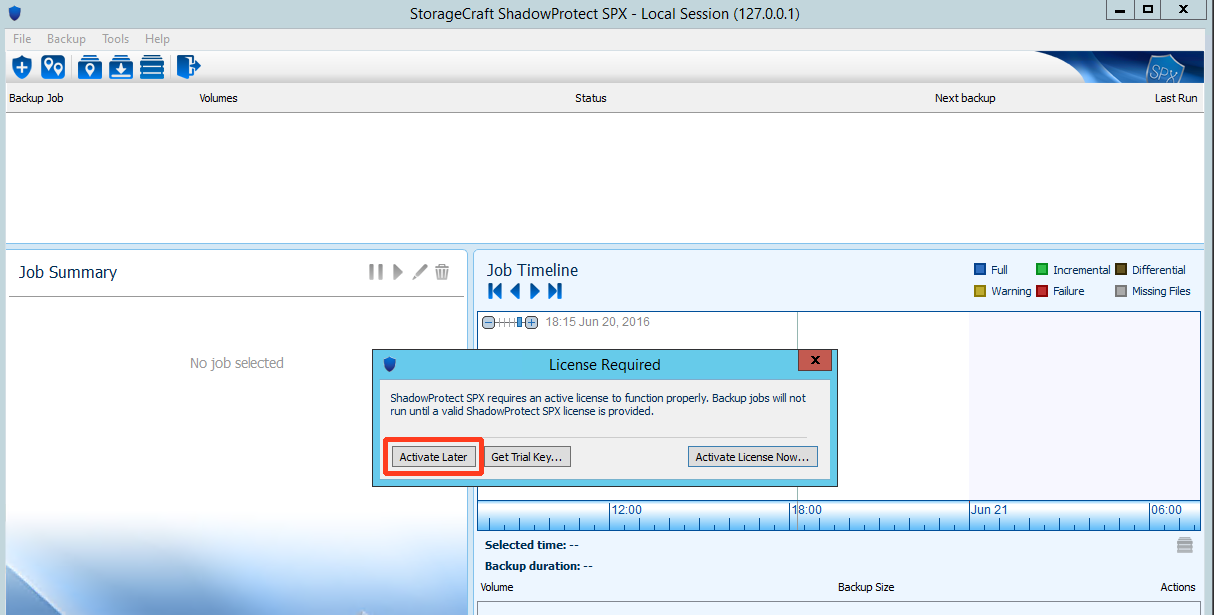
Step 3. Click Activate Later to bypass the License Required screen.
Step 4. Select the Image Chain Browser icon from the actions menu in the top left corner.

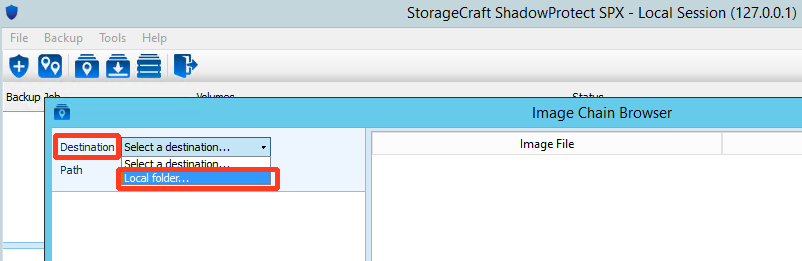
Step 5. From the dropdown menu Destination, select Local folder...
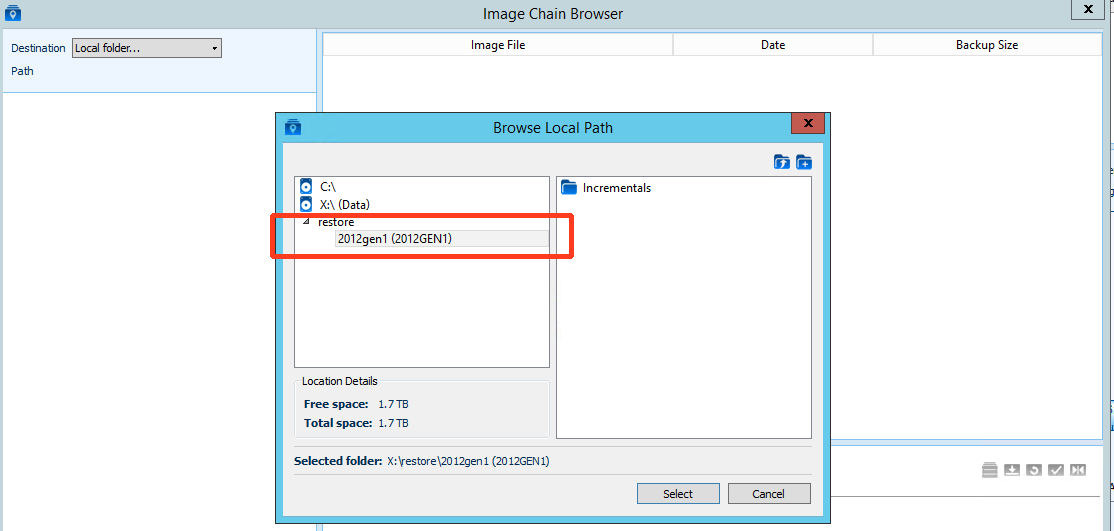
Step 6. Navigate to the location containing the previously restored WinSCP backups
Step 7. Highlight the incremental to be booted…

…and then click the VirtualBoot Tool icon from the actions menu in the top left corner:

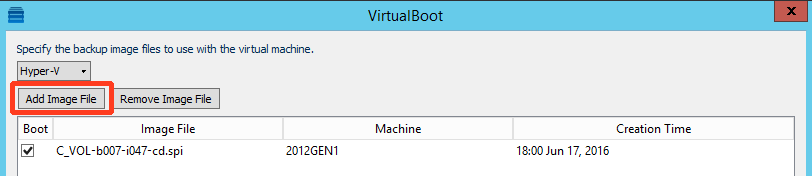
Note: To add additional volumes, click Add Image File.
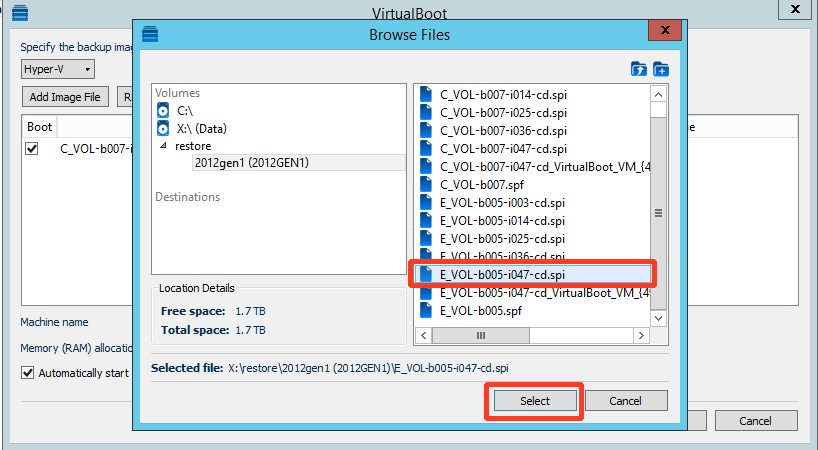
Step 8. Highlight the image you wish to add and click Select.
As you can see, C_VOL-B007-i047-cd.spi is set as the bootable volume.
Step 9. You must now:
1. Give the VM a Machine name.
2. Specify Memory (RAM) allocation.
3. Uncheck the box to Automatically start the virtual machine after creating it.
4. Use the dropdown menu to specify the backup image file types as either Hyper-V or VirtualBox.
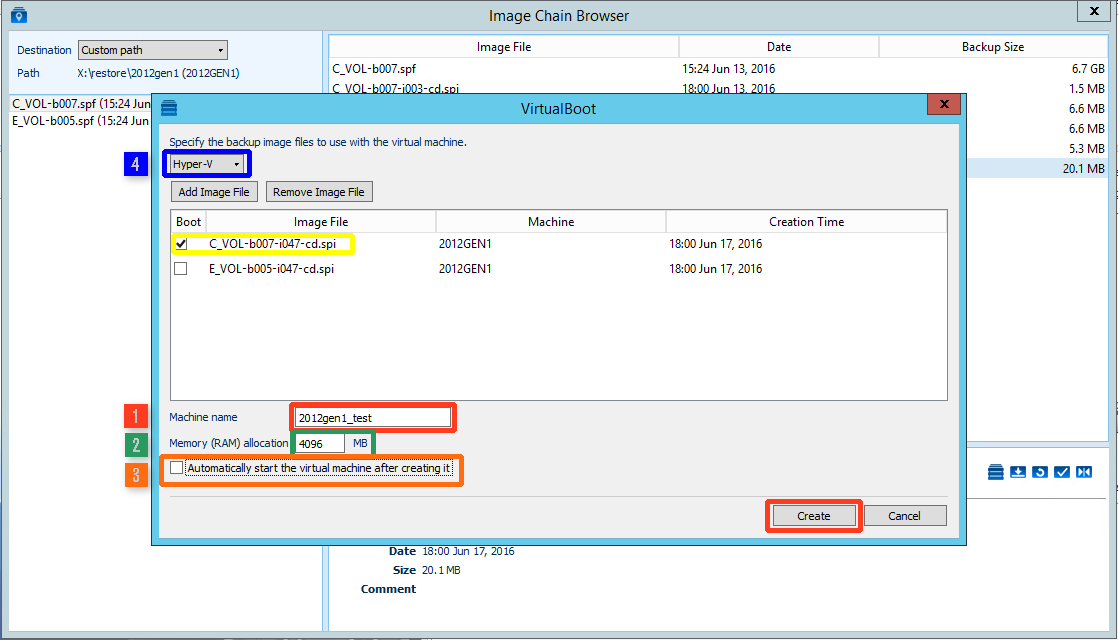
When these selections are complete, click Create.
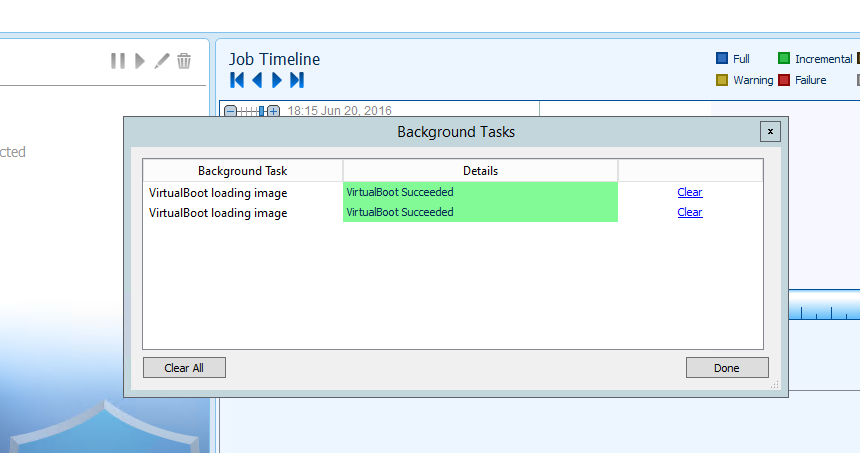
Step 10. Close the Image Chain Browser window and you will see the progress of the VM being created.
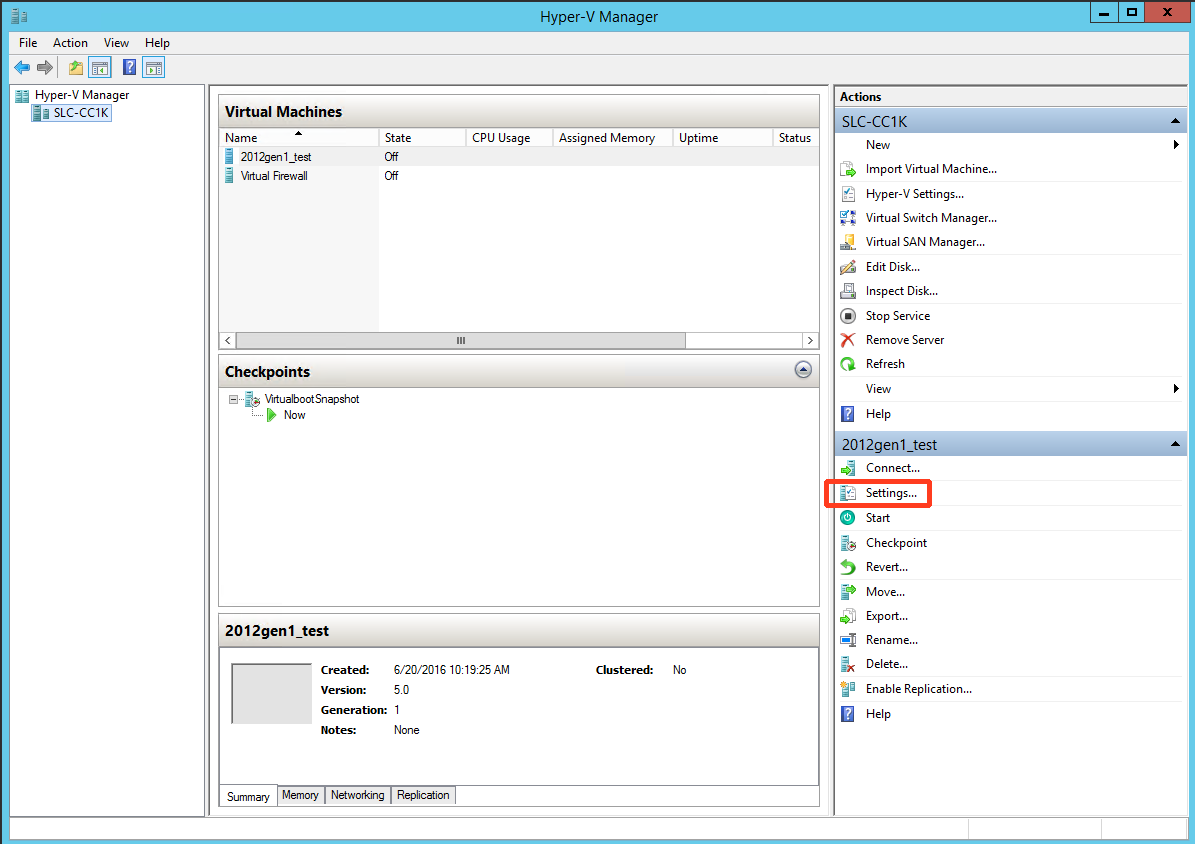
Step 11. Once the VirtualBoot process is complete, open the Hyper-V Manager again and click on Settings:
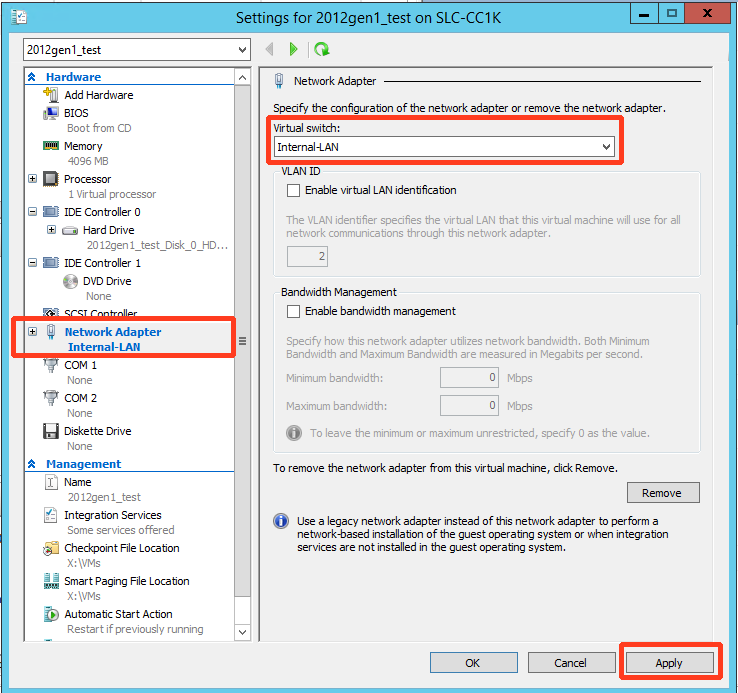
Step 12. Click Network Adapter on the left navigation panel.
Then, click the Virtual Switch drop down menu, select Internal-LAN, and click Apply.
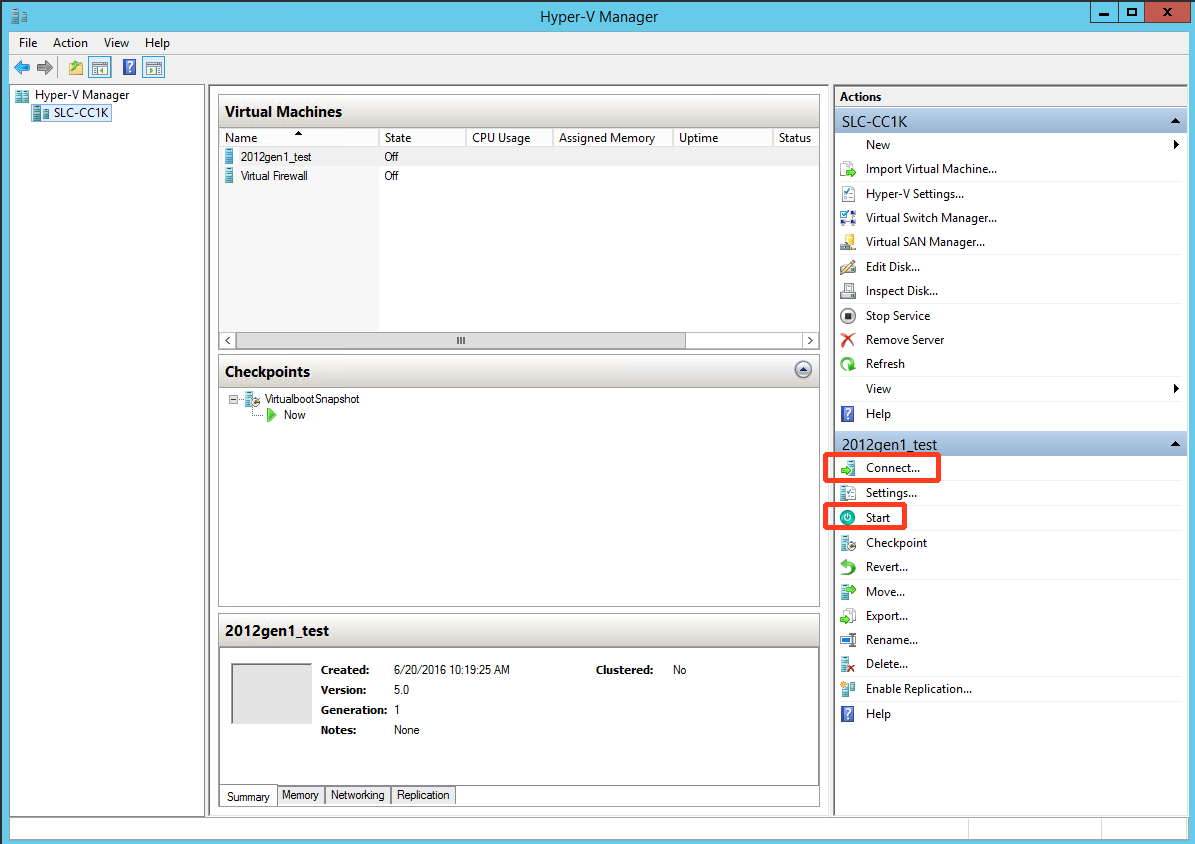
Step 13. At this point, you can begin running the VM by clicking Start and then Connect:
Note: You will need to log into the VM and assign it an IP address as usual.
You may need to reboot for all changes to take effect.
Very Important! If you are virtualizing an SBS server or domain controller, the first time the server boots, when the Windows boot menu appears, immediately press F8 and choose Active Directory Restore Mode or Directory Services Restore Mode.
Once the server comes up, login as the local Administrator (.\Administrator) using the Directory Services Restore Mode password, edit the settings for the network adapter to reset the static IP and the DNS server address. For SBS servers, the DNS server address will be the same as the static IP (or 127.0.0.1).
At this point your servers should be running and accessible to users through forwarded ports or any VPN you’ve setup
Very Important! You must stay logged into Windows for the Virtual Firewall and any other VirtualBox VMs to continue to run. Do not log out when you are finished with your remote desktop session, but rather disconnect from the remote desktop session instead. This will allow the VMs to continue to run.
Need more help? For specific questions about this Axcient product, please contact us directly:
- Open a Support Ticket
- Call us at 720-204-4500