
You can organize end users into Groups to help you manage accounts. When you create a Group, you select accounts that are included in the group, so that the group acts as a single entity within x360Sync.
For example, when creating Team Shares, you can add one single Group to the Team Share, rather than selecting and managing separate accounts. You can even assign a permission role to the group, and each member of the group will inherit that permission role within the Team Share. Ultimately, this feature helps you manage groups of users within one central location.
 The benefits of Groups include:
- You can easily manage a single Group—rather than multiple accounts—as a subscriber to a Team Share.
- When adding a Group to a Team Share, you can optionally define machine subscription settings and permission roles for the entire Group.
To create groups:
- In the Organization navigation menu, select the organization in which you want to create Groups. The selected organization displays.
- Select the Accounts tab, and then click the Groups tab.
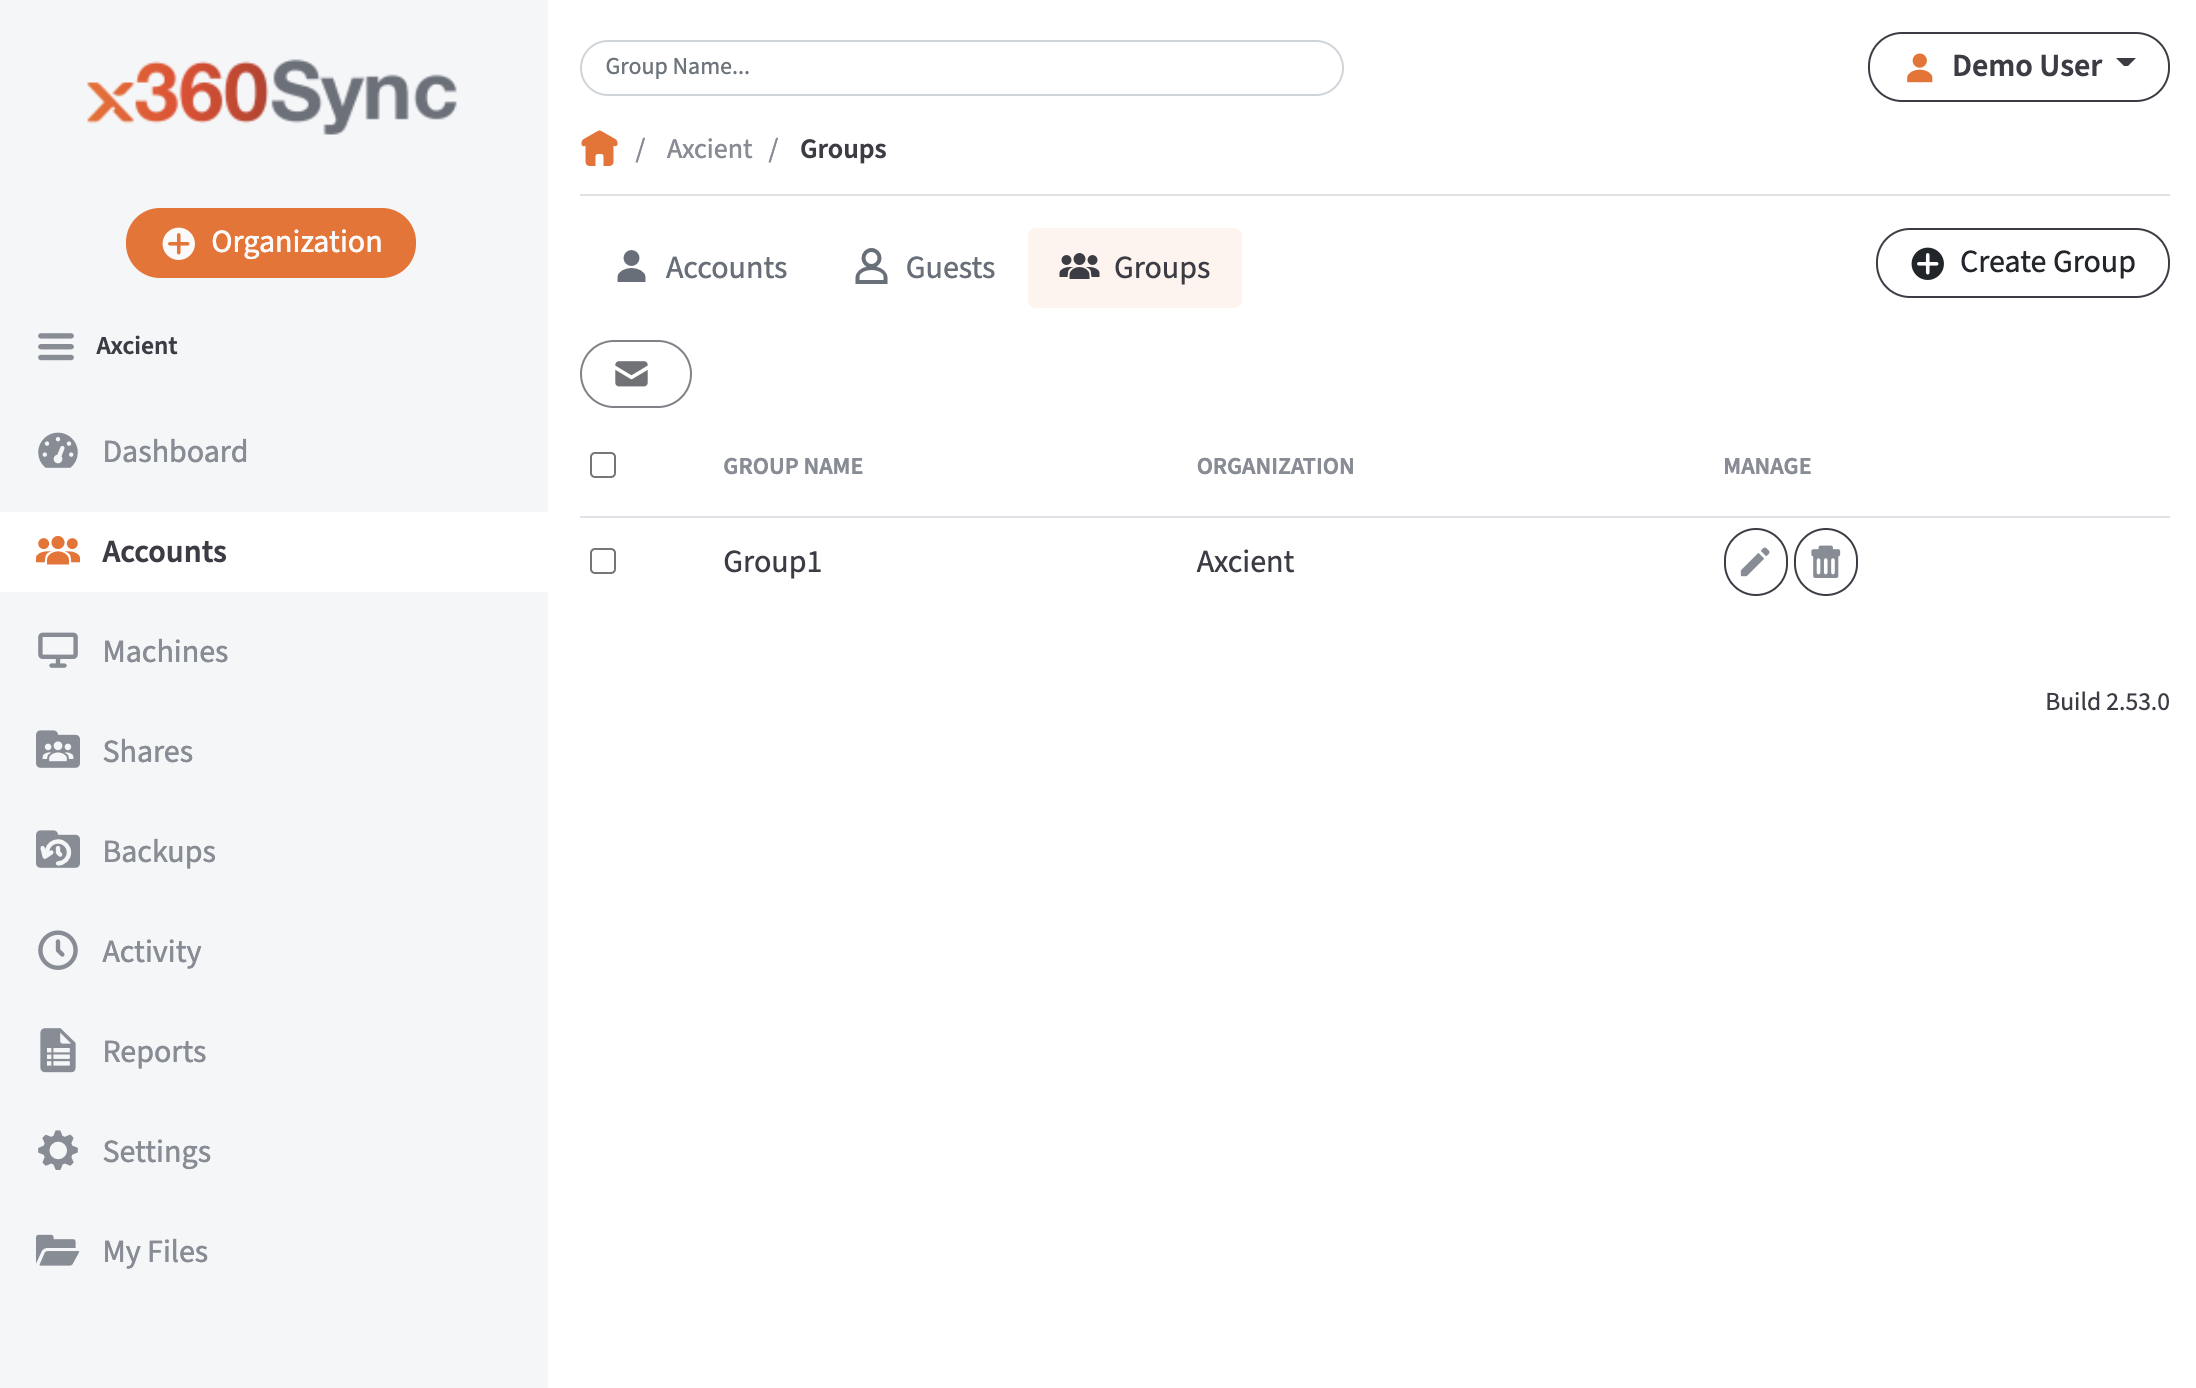 The Groups page displays, listing all of your existing Groups.
 - In the Groups page, click the Create Group button.
.jpg) The Group Settings page displays, allowing you to configure settings for the new Group.
The Group Settings page displays, allowing you to configure settings for the new Group.
- In the Organization display field, view the current organization in which the Group will be created.
- In the Group Name field, enter a descriptive name of the Group. The name will be used as an identifier to help you manage the Group.
- In the Group Members section of the page, select accounts or other Groups that should be included as members. You can:
- Use the search box to search for existing Groups or accounts.
- Click to expand the Groups section, and use the checkboxes to select existing Groups. Alternatively, select the top-level Groups checkbox to include all Groups.
- Click to expand the Accounts section, and use the checkboxes to select existing user accounts. Alternatively, select the top-level Accounts checkbox to include all accounts.

- Click the Save button when you are finished.
After you create Groups, you can add Groups to Team Shares.