
Overview
In addition to launching a virtual machine from the appliance, you can also export a protected system disk for recovery.
Using the Network File System (NFS) exports tool, you can allow remote systems to connect to the appliance or vault and then mount the export folder using the NFS protocol.
This is a two-step process:
- First, in the Protected System Details page, select the Export option to create a virtual disk image of the protected system.
- Next, use the NFS exports feature (described below) to share the exported virtual disk image(s) on the network.
Note: VMware and Hyper-V use NFS exports differently:
- With the latest versions of x360 Recover, VMware can natively use the appliance as a datastore and run VM's from the appliance storage directly.
- Windows does not allow running virtual machines on NFS mounted drives. You'll be required to copy the exported disks to native Windows storage elsewhere.
Enable NFS exports
Using the NFS exports tool, you can easily connect your VMware, Hyper-V or other hypervisor server to the appliance or vault in order to transfer exported protected system disks for recovery.
This tool is particularly useful if a virtual machine has been corrupted or lost.
You can enable the NFS exports feature from the appliance or vault web interface.
Note: NFS export is available on appliances and self-hosted private vaults.
- NFS exporting is disabled and hidden on Axcient-hosted vaults, as there are no local hypervisor hosts in the Axcient cloud to attach.
To enable NFS Exports:
1. Open any web browser and navigate to your appliance or vault web interface. If you are logging in to the vault, log in with the specific customer username and password.
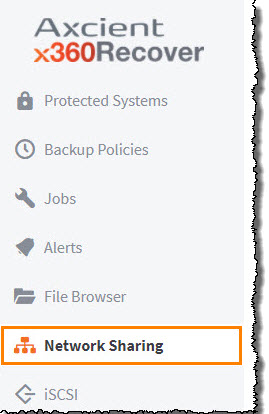
2. In the left-hand navigation menu, click the Network Sharing tab.
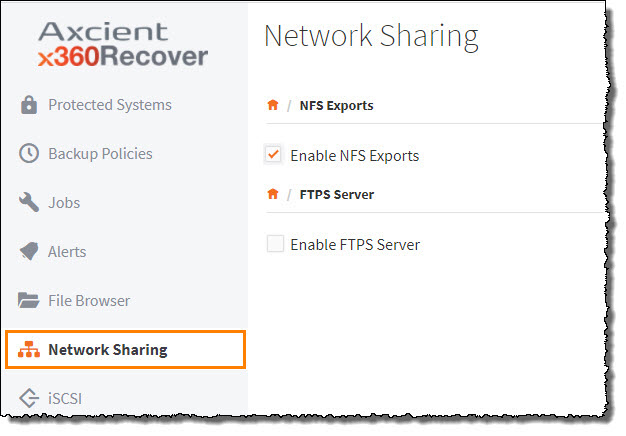
3. On the Network Sharing page, click the Enable NFS Exports checkbox.
4. With NFS Exports enabled, click the Add Host button.
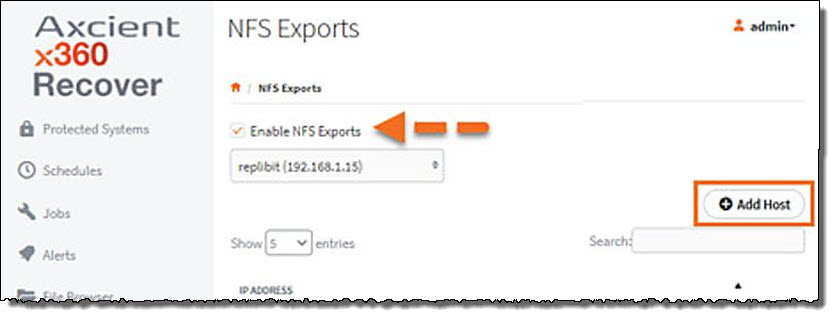
5. In the Add Allowed IP Address pop-up window, enter the IP address of the host.
Note: This is the IP address of the VMware or Hyper-V host that will be connecting to the appliance.

6. On the Hypervisor host, connect to the NFS folder using the IP address of the appliance and the shared folder path.
Windows and Linux (Vmware) use different naming conventions for paths.
Examples:
On an appliance, the full path for VMware is
<IP address>/export/admin
For Windows, the path is
\\<IP address>\export\admin.
On a vault, the shared folder path for Vmware is
<IP Address>/export/<Client>
For Windows, the path is
\\<IP Address>\export\<Client>
where <Client> is the name of the customer whose data you are recovering. (You can view all available client names on the Clients page of the vault.)
Map a drive to an NFS share
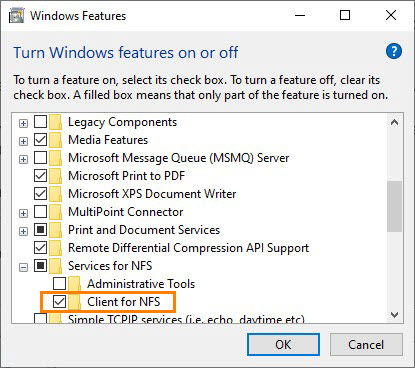
Note: To map an NFS share under Windows, make sure that the Client for NFS feature is installed, as shown below:
Windows:
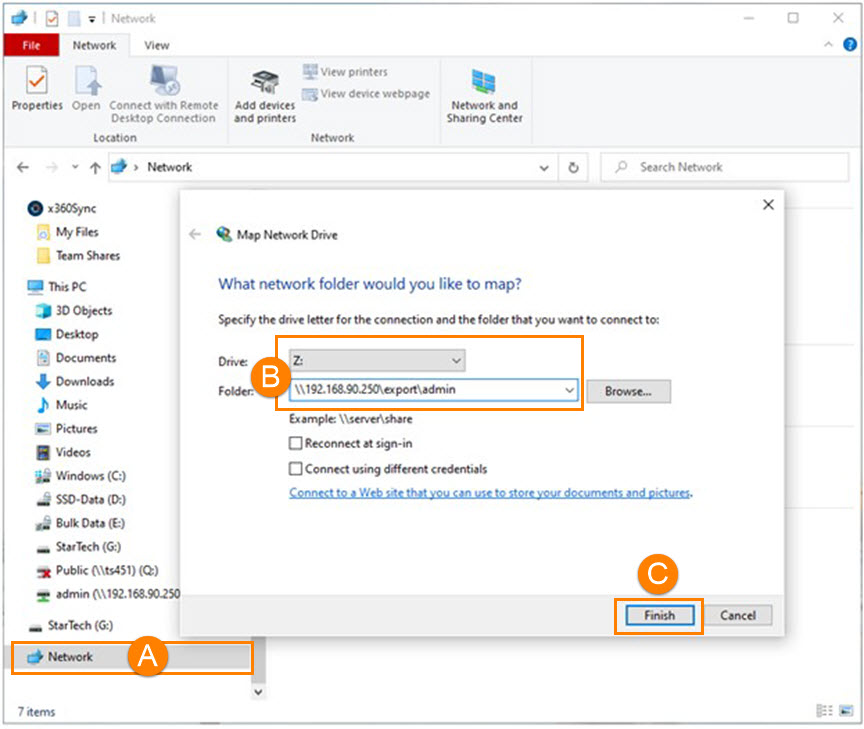
Map a drive to an NFS share as you would map a normal Windows file share:
A. Open File Explorer and select Network
B. Right click to select Map Network Drive and then elect an available drive letter and enter the path
C. Click Finish
VMware
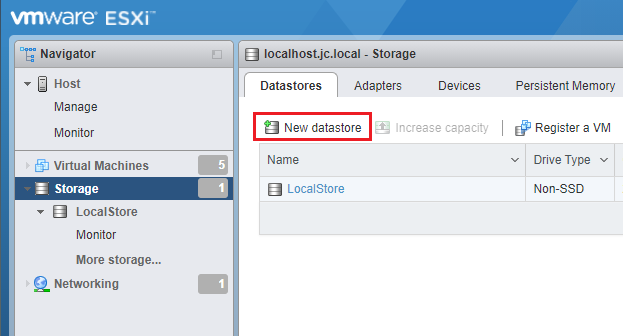
To map an NFS share under VMware, log in to the ESXi web console
1. Navigate to Storage and click New Datastore.
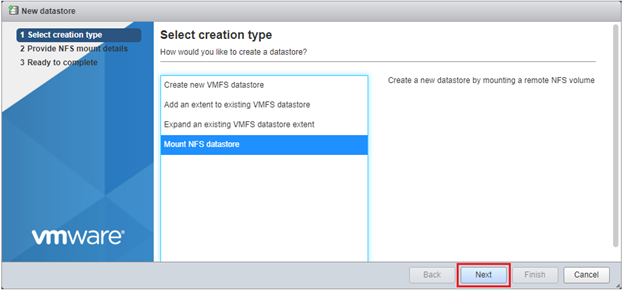
2. In the Select creation type window, select Mount NFS Datastore and click Next to continue.
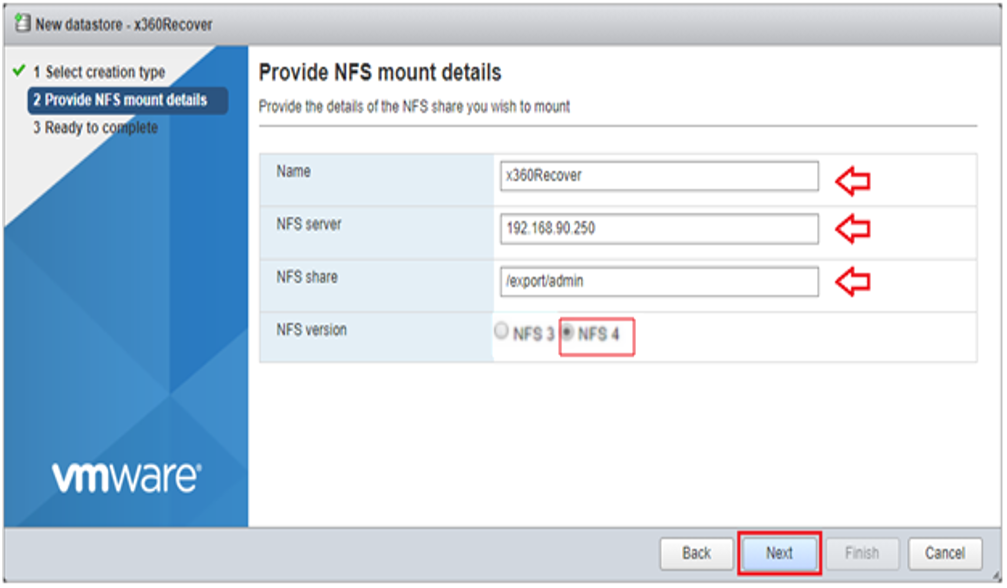
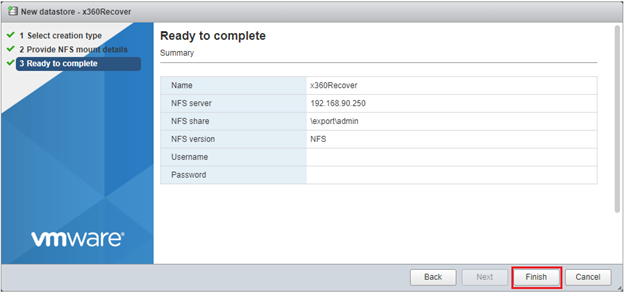
3. In the Provide NFS mount details window:
- Enter a Name
- Enter the IP address of the recover appliance in the NFS server field
- Enter the share path in the NFS share field
- For NFS version, select NFS 4
Click Next to continue.
4. In the Ready to complete window, click Finish.
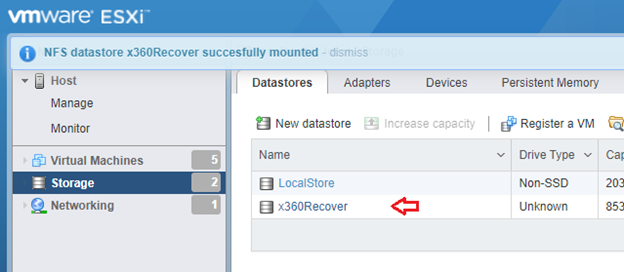
The recover device will be mounted as a datastore:
View exports in the mapped drive
After the drive is mapped, all exports for this protected system will be accessible under this NFS share.
Example:
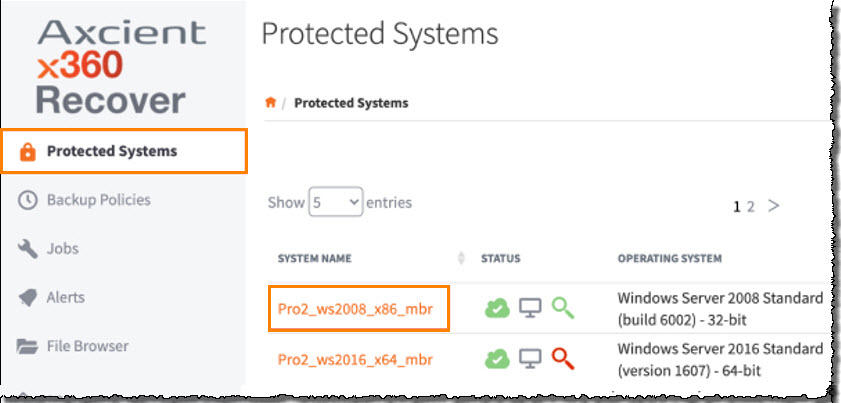
1. Return to the appliance web interface.
2. In the left-hand navigation menu, click Protected Systems.
3. In the Protected Systems window, find a protected system and click the appropriate System Name.
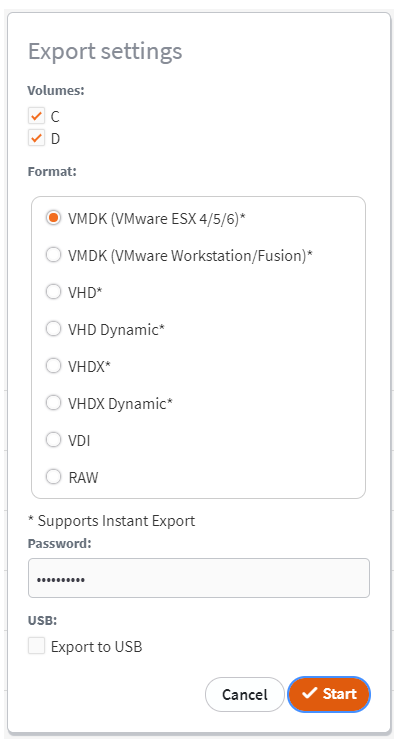
5. In the Protected System Details page, click Export.
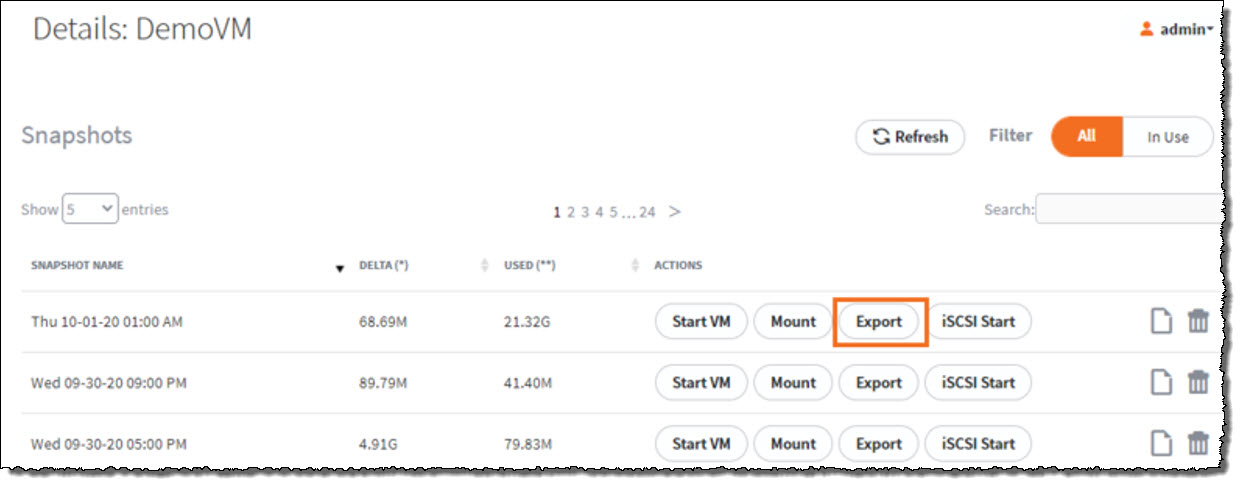 6. In the Export Settings pop-up window, configure your preferred export settings and then click Start.
The export is now visible under the NFS share.
Remove a host from the access list
To remove a host from the access list, click the NFS Exports tab in the appliance or vault web interface and then click Delete.
Note: Static-formatted exported virtual disks (only) are Read/Write and can be used directly for virtualizing with VMware
Use an exported virtual disk to create a virtual machine
Note: VMware and Hyper-V use NFS exports differently.
- With the latest versions of x360 Recover, VMware can natively use the appliance as a datastore and run VM's from the appliance storage directly.
To use an exported virtual disk to create a virtual machine with VMware ESXi:
- Mount the appliance as an NFS datastore
- Create the VM using the appliance as the datastore for the virtual machine
- Select the exported virtual disks
- Windows does not allow running virtual machines on NFS mounted drives. You'll be required to copy the exported disks to native Windows storage elsewhere.
To use an exported virtual disk to create a virtual machine with Hyper-V:
- Mount the NFS share to the Windows hypervisor host
- Copy the exported virtual disk(s) to local storage location
- Create the VM using Hyper-V Manager and select the exported virtual disks
SUPPORT | 720-204-4500 | 800-352-0248
- Contact Axcient Support at https://partner.axcient.com/login or call 800-352-0248
- Free certification courses are available in the Axcient x360Portal under Training
- Subscribe to the Axcient Status page for a list of status updates and scheduled maintenance
898 | 1618