
Overview
If you want to move the desktop client's Synced Folder to a new location on a local machine, you will need to unregister and then reregister the desktop client to the appropriate user account.
Warning: When selecting a Synced Folder location, do not select an external drive or a network path. Doing so might result in unexpected program behavior and even lead to data loss.
Instructions
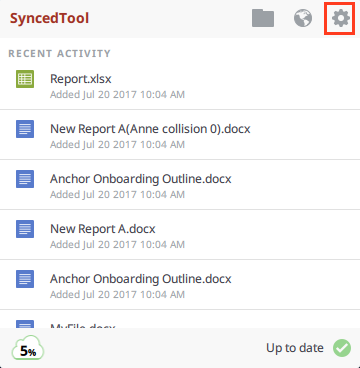
1. Click the system tray icon, click the Manage icon, and select Preferences.
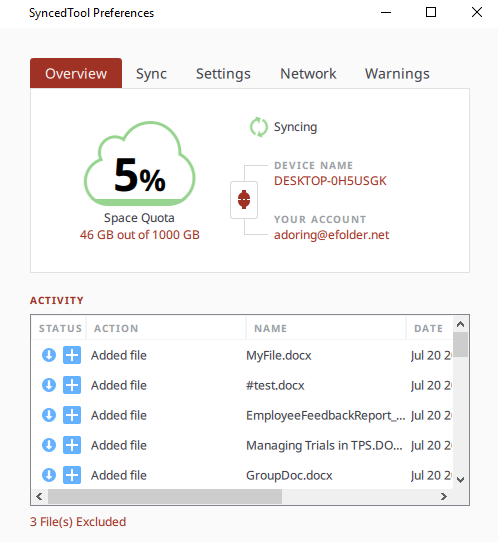
2. The Preferences dialog box displays, showing the Overview tab.
3. In the Overview tab, click the Unregister icon.
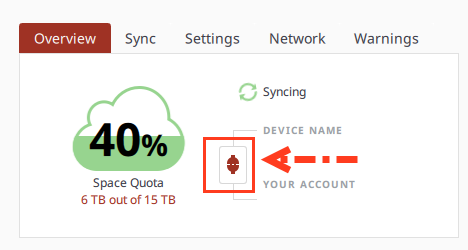
A popup message displays, indicating that unregistering the device will stop the sync process, but will not delete the files on the computer.
4. Click the Unregister button to confirm and continue.
If you wish to retain the data that has already synced to the prior location, copy or cut/paste this data (the Synced Folder and all of it's contents) over to where you plan to point your new Synced Folder location
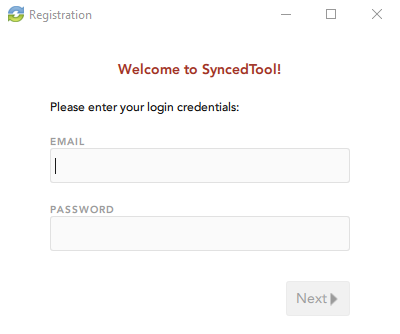
5. Now that the device is unlinked, click the Register icon again. The Registration wizard displays.
In the Registration screen, enter the email address and password provided by the Welcome email and click the Next button to continue.
6. In the Select Destination of SyncedTool Folder screen, click on the Select destination radio button, and then click the Next button.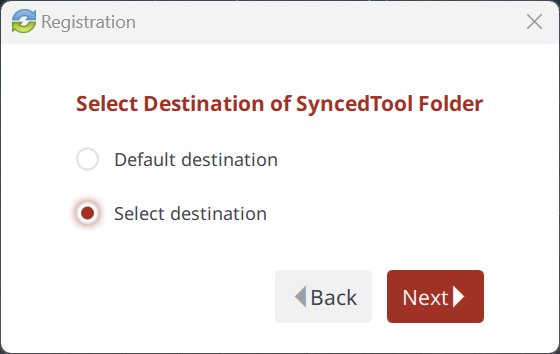
7. In the Select Destination screen, click the Browse button to specify another location on your local machine.
Warning: When selecting a Synced Folder location, do not select an external drive or a network path. Doing so might result in unexpected program behavior and even lead to data loss.
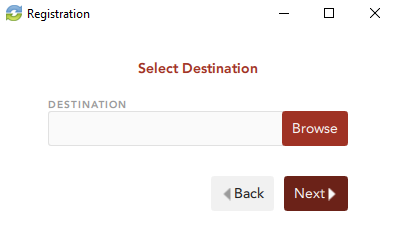
Note: After you select the desired location, a folder named SyncedFolder will automatically be created within that location. You do not need to manually create a folder titled SyncedFolder.
For example:
The chosen location below is C:\Users\Anne Doring
The folder named SyncedFolder is automatically created.
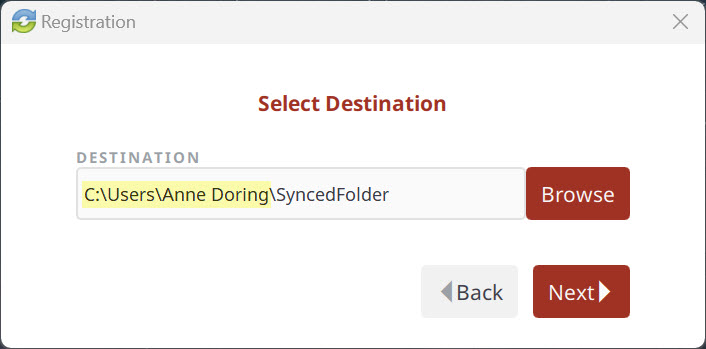
Selecting the copied Synced Folder directly would result in resyncing all of the data into ‘C:\Users\Anne Doring\SyncedFolder\SyncedFolder’
Click the Next button when you are finished.
8. If the folder you selected has been already used as a SyncedTool folder destination, you will receive a warning message indicating that a folder already exists.
Click the Merge button to merge with the existing folder, which saves time during the resyncing process.

9. When the Registration Wizard completes the registration process, you will be able to access your Synced Folder from the new location.
Please note that if you've copied data from the previous location, the agent will begin rebuilding the agent side statistics responsible for tracking file locations and revisions. You will see this as 'sync activity' in the agent GUI.
SUPPORT | 720-204-4500 | 800-352-0248
- Contact Axcient Support at https://partner.axcient.com/login or call 800-352-0248
- Free certification courses are available in the Axcient x360Portal under Training
- Subscribe to the Axcient Status page for updates and scheduled maintenance
1446